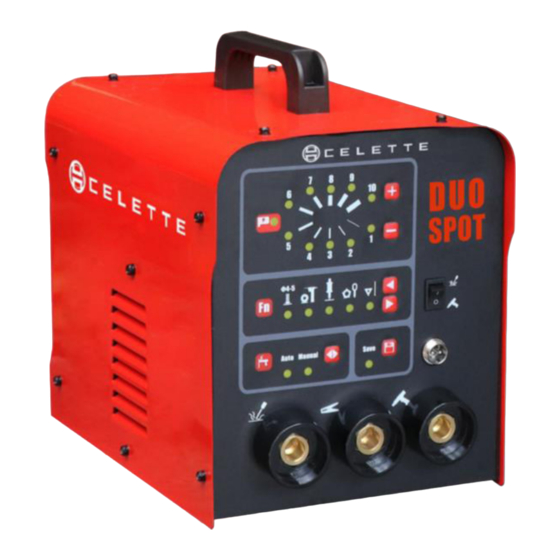
CELETTE CEL.11244-G-01 원본 매뉴얼 - 페이지 13
{카테고리_이름} CELETTE CEL.11244-G-01에 대한 원본 매뉴얼을 온라인으로 검색하거나 PDF를 다운로드하세요. CELETTE CEL.11244-G-01 20 페이지.

3.8.2 ADJUST THE PRESSURE AND EXTEND DISTANCE:
EXTEND 2MM
DIAGRAM 4
1. Stud screw extend 2.0mm from 3 support feet, as the diagram 4 on left.
2. Turn left the Spring adjustment, stud welding heat will increase, torch pressure will reduce.
3. Turn light the Spring adjustment, stud welding heat will reduce, torch pressure will increase.
4. When torch pressure is not enough, please remove back cover and spring adjustment, then replace
the pressure spring.
3.8.3 STUD SCREW CLAMP:
Stud screw clamp is the part for keep the stud screw carry welding current. So make sure the diameter
of the clamp in accord with stud screw. When the diameter of the clamp is not suitable to the stud screw,
the stud screw and clamp are easily damaged. That will cause stud welding treble. Please pay attention to
the problem.
SOCKET WRENCH FOR
ADJUST SCREW CLAMP
1. Use socket wrench to lose the clamp fixed screw.
2. Pull out screw clamp and gag lever post.
3. Insert screw clamp and gag lever post to torch head. Make sure the diameter of the clamp is correct
and the length of the gag lever post is correct.
4. Use socket wrench to locking the clamp fixed screw.
Note: When Use new screw clamp, must use pliers to clamp the groove of the screw clamp.
That can make sure the screw camp and stud screw close contact.
www.celette.com
SCREW CLAMP
GAG LEVER
POST
The groove expand in use, the stud screw will loose.
Use pliers to clamp it, when meet the problem, that can
extend using life of the screw clamp.
PRESSURE
CLAMP FIXED SCREW
SPRING
ADJUSTMENT
Page No: 13
