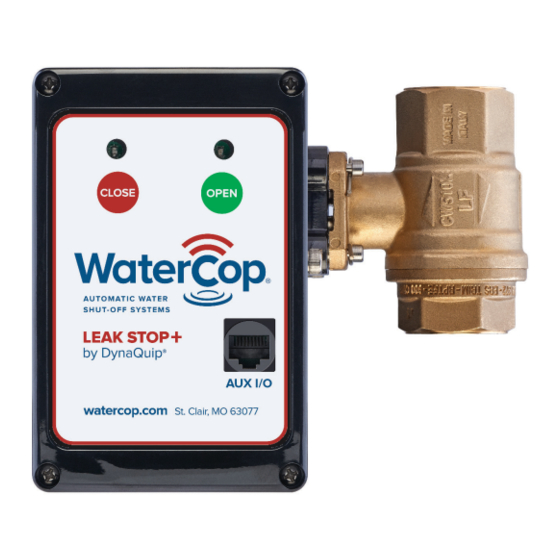
DynaQuip WaterCop LEAK STOP+ 사용 설명서 및 설치 설명서 - 페이지 6
{카테고리_이름} DynaQuip WaterCop LEAK STOP+에 대한 사용 설명서 및 설치 설명서을 온라인으로 검색하거나 PDF를 다운로드하세요. DynaQuip WaterCop LEAK STOP+ 13 페이지.

Installation Guidelines
Review all Safety Guidelines listed on page 3.
Use of a licensed, professional plumber is highly recommended and may be
required in some municipalities.
1. Separate the brass valve from the
control box by removing the spring clip.
RETAIN THIS CLIP.
2. Using compression fi ttings or sweat
fi tting adaptors, install the properly
sized brass valve into the plumbing
system, just upstream from the device
on the cold water supply. Orient the
valve in such a way that when the
+
Leak Stop
control box is properly
attached, the homeowner will have easy access to the open/close buttons.
+
Leak Stop
requires 120 V outlet to operate.
3. Verify that the valve and the Leak Stop motor are both in the OPEN position.
•
The slot in the valve stem should be in line with the valve body, end to end.
The valve will be open.
•
Apply power to the control box by plugging it into 120 VAC. The green
light should be ON. If not, press the green button and the unit will cycle
to the OPEN position. DISCONNECT POWER.
4. Mount the Leak Stop
and secure with the spring clip provided.
IMPORTANT: The control box MUST be
aligned with the valve as shown. Verify the
spring clip is fi rmly seated at all corners.
5. Plug in the unit to the selected nearby
120 V outlet.
6
+
motor onto the valve
