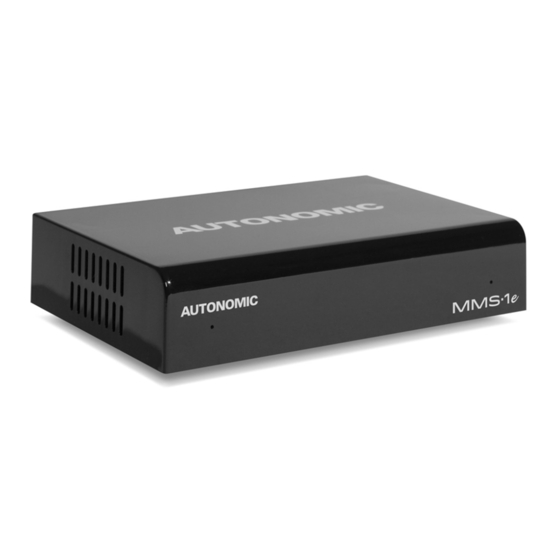
Autonomic Mirage MMS-1e 설정 매뉴얼 - 페이지 5
{카테고리_이름} Autonomic Mirage MMS-1e에 대한 설정 매뉴얼을 온라인으로 검색하거나 PDF를 다운로드하세요. Autonomic Mirage MMS-1e 18 페이지.

Network Connection
Using a standard (straight through) Category 5 or Category 6 Ethernet cable, connect the
Ethernet port on the MMS to an available port on your network router or switch.
Shelf or Enclosure Mounting
The MMS supports installation in a standard On-Q Structured Media Enclosures. For installa-
tion, attach the two supplied brackets to the back sides of the MMS with supplied screws. For
shelf mount installs, attach the four supplied feet to the bottom of the chassis.
Power
The MMS front panel has a power indicator LED.
Audio Connections
Connect and/all of the audio outputs at rear of the MMS-1e to source inputs on your amplifier
or receiver. The digital outputs of the MMS-1e support 24-bit/96Kz digital audio.
Video Connections
You can use the MMS video output's On-screen Display to browse content and now-playing
information about your audio program to a compatible display device.
NOTE
Some HDMI receivers and switches can have compatibility issues with the MMS . If you
receive an error message on screen, or if the MMS seems non-responsive, try plugging the
HDMI cable directly into the display, bypassing any adaptors, switches, or AV receivers
Control System Connections
If you are using an IP based control system, the Mirage Media Server can be controlled over IP
port 5004, and no further connections are necessary.
More information and control system modules for Crestron, AMX, Control4, URC, RTI, Savant,
Elan, Leviton, or Command Fusion systems are available at
www.autonomic-controls.com/support_downloads.php
Mirage Media Server Set Up
4 of 15
