HighPoint RocketRAID 840A 빠른 설치 매뉴얼 - 페이지 5
{카테고리_이름} HighPoint RocketRAID 840A에 대한 빠른 설치 매뉴얼을 온라인으로 검색하거나 PDF를 다운로드하세요. HighPoint RocketRAID 840A 8 페이지. Sata 6gb/s pci-express 3.0 x8 raid controller
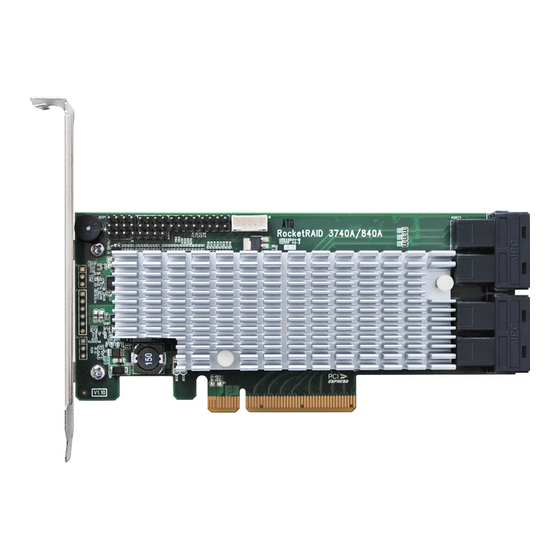
Hardware Installation
Installing the RAID Controller
Note: Make sure the system is powered-off before installing the RAID Controller.
1.
Open the system chassis and locate an unused PCI-E (x8, x16) slot.
2.
Remove the PCI slot cover.
3.
Gently insert the RAID controller into the PCI-E slot, and secure the bracket to
the system chassis.
4.
After installing the adapter, attach the hard disks or disk backplane to the
RAID controller using the appropriate data cables.
5.
Close and secure the system chassis.
Using the RocketRAID 840A
BIOS
After installing the RAID controller and powering on the system, the RAID
controller BIOS should post during the system's boot procedure.
Use Ctrl + H key to log-in to the BIOS setting utility. The BIOS setting utility can
be used for RAID management.
Please refer to the user guide for more information about using the BIOS
interface:
http://www.highpoint-tech.com/PDF/RR840A/RR840A_user_guide.pdf
5