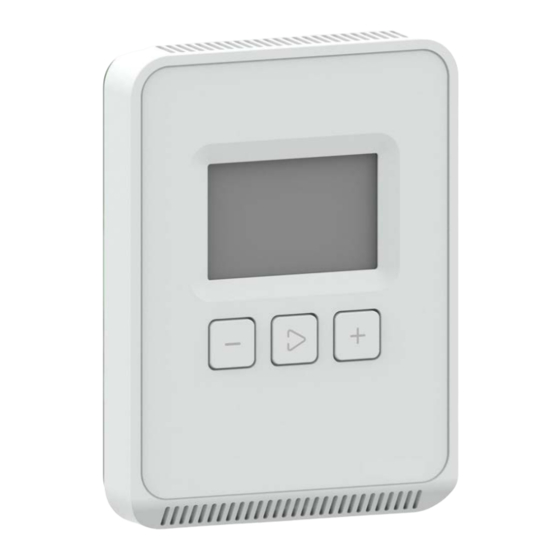
Emerson 210-2000 제품 정보 시트 - 페이지 3
{카테고리_이름} Emerson 210-2000에 대한 제품 정보 시트을 온라인으로 검색하거나 PDF를 다운로드하세요. Emerson 210-2000 4 페이지. Wall-mounted co2 sensor
Emerson 210-2000에 대해서도 마찬가지입니다: 설치 매뉴얼 (7 페이지)

Figure 3 - CO
Sensor Reassembly
2
Setting the Volts/Amps
Switch
The front of the circuit board has a switch that
controls whether the analog output sends a signal as
voltage (V) or milliamps (mA). To work with CPC I/ O
boards, this switch should be set to voltage (the
DOWN position). Verify this switch is in the DOWN
position before operating the sensor.
Setting Up the CO
Sensor Software
Before operating the sensor, you must use the LCD
display and the three buttons on the front of the
circuit
board
to
set
parameters. Figure 4 shows the keys on the circuit
board and the setup screens. Use the ENTER key to
cycle through the setup screens, and the + and - keys
to adjust parameter values.
Carbon Dioxide Sensor
Product Information Sheet
2
the
sensor's
operating
Figure 4 - CO2 Sensor Keys and Screens
Setpoint
If you are using the CO
control, use the + and - keys to adjust the value of the
set point. When the CO
set point, the relay will energize. Press ENTER to save
the setpoint value.
Altitude
To properly measure CO
specify the approximate altitude of the site. Use the +
and - keys to select the number of feet above sea
level closest to the site's altitude. Press ENTER to save
the altitude value.
CO
Calibration
2
WARNING! Calibrating the CO
calibration kit. DO NOT perform a calibration without
this kit, or else the sensor will give erroneous
readings.
All CO
sensors are shipped pre-calibrated, and will
2
only require calibration once every five years to
ensure proper readings. Calibration requires a special
gas kit available from CPC. Follow the instructions
that come with this kit to calibrate the sensor.
Otherwise, press ENTER to bypass this screen and
continue setup.
42
210-2000
sensor's relay for alarming or
2
sensor's reading is above this
2
concentrations, you must
2
sensor requires a gas
2
