Cor IBR200 빠른 시작 매뉴얼 - 페이지 4
{카테고리_이름} Cor IBR200에 대한 빠른 시작 매뉴얼을 온라인으로 검색하거나 PDF를 다운로드하세요. Cor IBR200 7 페이지.

11/2/2020
STEP 7: Mount the router.
The IBR200 router may be affixed to a wall or mounted on the ceiling. Refer to the following for best practices:
Hold the router in the desired position and location and then use a pen or marker to mark the placement location for the screws.
Ensure the mounting location is away from objects that cause RF interference, including concrete, reflective and metal surface, microwaves, and so on.
Pre-drill holes for the mounting screws.
Use wall anchors to ensure the endpoint is securely mounted.
STEP 8: Connect the Ethernet cable.
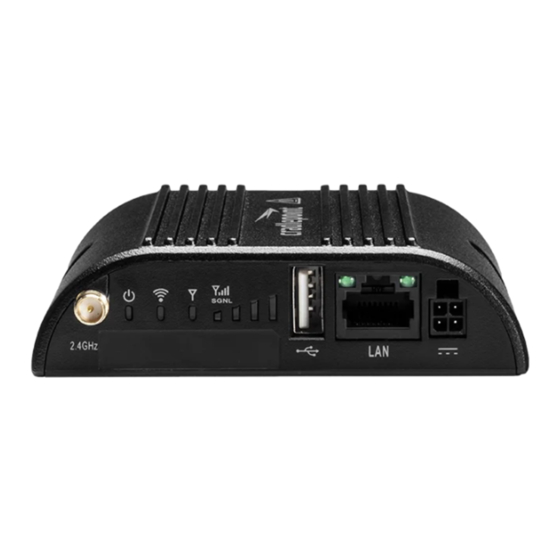
Connect the Ethernet cable to the port marked LAN on the back of the IBR200. Connect the other end to your cable modem.
STEP 9: Power up the router.
Insert the 4-pin end of the power source into the four-pin port on the router, ensuring appropriate alignment of pins as illustrated below.
Plug the adapter into an electrical socket.
Allow 1 minute for the router to run through its bootup sequence.
Refer to the Understanding LEDs section of this guide for more information about LED indicator status.
Step 10: Active the router in NetCloud Manager.
Activating your Cradlepoint router requires logging into your NetCloud Manager account. Refer to Getting Started with NetCloud Manager for more
information.
https://customer.cradlepoint.com/s/article/COR-IBR200
COR IBR200 IoT Router Quick Start Guide
4/7
