Dynojet Power Commander III 설치 지침 - 페이지 3

{카테고리_이름} Dynojet Power Commander III에 대한 설치 지침을 온라인으로 검색하거나 PDF를 다운로드하세요. Dynojet Power Commander III 3 페이지. Fuel adjustment
Dynojet Power Commander III에 대해서도 마찬가지입니다: 설치 지침 (4 페이지), 설치 지침 (4 페이지), 설치 지침 (5 페이지), 설치 지침 (5 페이지), 설치 지침 (3 페이지), 설치 지침 (3 페이지), 설치 지침 (4 페이지), 설치 지침 (3 페이지), 설치 지침 (3 페이지), 설치 지침 (5 페이지), 설치 지침 (3 페이지), 설치 지침 (3 페이지), 설치 지침 (3 페이지), 설치 지침 (3 페이지), 설치 지침 (3 페이지), 설치 지침 (3 페이지), 설치 지침 (3 페이지), 설치 지침 (4 페이지), 설치 지침 (5 페이지), 설치 지침 (4 페이지)
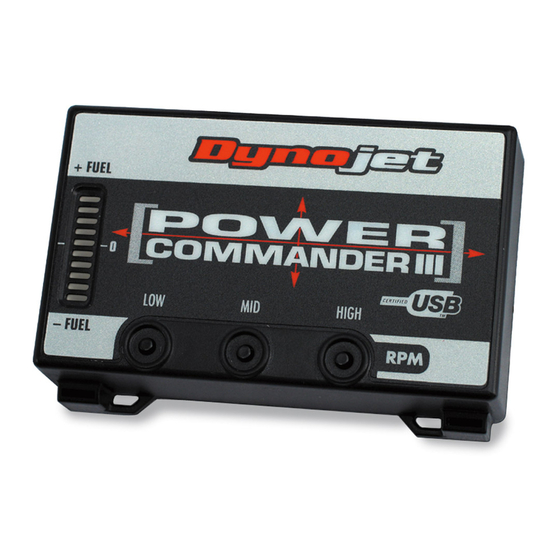
Dynojet Power Commander III 설치 지침
i333-411
www.powercommander.com
Unplug this connector
Wire tap
Grey wire
from PCIII
7
Plug the PCIII wiring harness in-line
of the stock harness and injectors
(Fig. D).
Do NOT connect the PCIII harness to
the upper injectors.
are on the set of injectors that is
below the fuel rail.
ORANGE - #1 cylinder
YELLOW - #2 cylinder
GREEN - #3 cylinder
BLUE - #4 cylinder
8
Unplug the stock wiring harness from
the Throttle Position Sensor (Fig. E).
This will allow easier access to the
wires.
9
Crimp the supplied wire tap to the
PINK/BLACK wire.
10
Connect the GREY wire from the
PCIII to the wire tap (Fig. F).
It is recommended to use dielectric
grease on these connections.
11
Connect the stock wiring harness back
on to the TPS
12
Secure the PCIII in the tail section
using the supplied velcro.
to use the alcohol swab to clean both
surfaces before attaching.
13
Lower fuel tank and reinstall seats.
14
Locate the stock O2 sensor which is
on the left hand side of the bike.
Follow the wires out of the exhaust to
the stock wiring harness.
sensor from the stock wiring harness.
15
Plug the Dynojet O2 eliminator into
the stock wiring harness.
sensor is no longer needed.
2007 Suzuki GSXR1000 - 3
Make sure you
Make sure
Unplug the
The stock