AFL Hyperscale U Series 설치 매뉴얼 - 페이지 12

{카테고리_이름} AFL Hyperscale U Series에 대한 설치 매뉴얼을 온라인으로 검색하거나 PDF를 다운로드하세요. AFL Hyperscale U Series 16 페이지. Front-access v-panel
AFL Hyperscale U Series에 대해서도 마찬가지입니다: 설치 매뉴얼 (8 페이지), 설치 매뉴얼 (16 페이지), 설치 매뉴얼 (8 페이지), 설치 매뉴얼 (8 페이지), 설치 매뉴얼 (12 페이지), 설치 매뉴얼 (8 페이지), 설치 매뉴얼 (8 페이지), 설치 매뉴얼 (20 페이지), 설치 매뉴얼 (17 페이지), 설치 매뉴얼 (20 페이지)
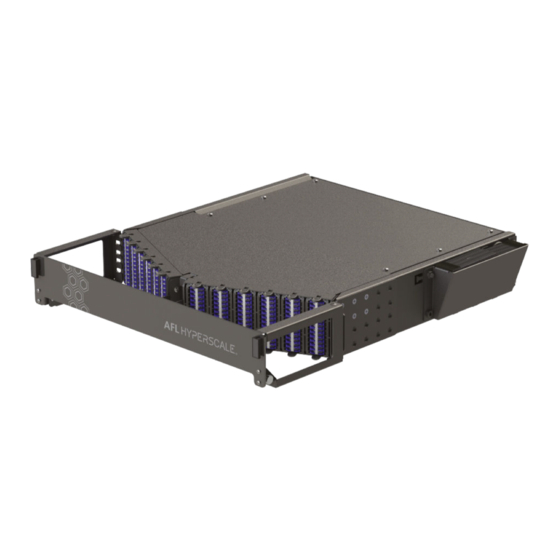
AFL Hyperscale U Series 설치 매뉴얼
Cable Installation
Cable Fiber
Slack Loop
Cable Braid
Cable
Tie-Off Point
Cassette
Identi cation
Labels
25.
Splice Tray 1 (BOTTOM): Tie off cable braid to splice tray. Starting with internal pigtail #1
ber (GREEN), place splice protector into
Cable Fiber
Slack Loop
Cable Braid
Cable
Tie-Off Point
Splice Tray 2 (TOP): Tie off cable braid to splice tray. Starting with internal pigtail #7
26.
ber (GREEN), place splice protector into
12
© AFL Hyperscale. All rights reserved
Splice Tray 1
(Bottom Tray)
YELLOW
YELLOW
holder. Coil ber in suggested route shown.
Splice Tray 2
(Top Tray)
holder. Coil ber in suggested route shown.
Internal SWR
®
Pigtail
Fiber Slack Loop
(Pre-Installed)
Tail
Identi cation
Labels
(RED),
splice to cable
Internal SWR Pigtail
Fiber Slack Loop
(Pre-Installed)
Tail
Identi cation
Labels
Cassette
Identi cation
Labels
(RED),
splice to cable
Series