AFL Hyperscale U Series Instrukcja instalacji - Strona 12

Przeglądaj online lub pobierz pdf Instrukcja instalacji dla Sprzęt sieciowy AFL Hyperscale U Series. AFL Hyperscale U Series 16 stron. Front-access v-panel
Również dla AFL Hyperscale U Series: Instrukcja instalacji (8 strony), Instrukcja instalacji (16 strony), Instrukcja instalacji (8 strony), Instrukcja instalacji (8 strony), Instrukcja instalacji (12 strony), Instrukcja instalacji (8 strony), Instrukcja instalacji (8 strony), Instrukcja instalacji (20 strony), Instrukcja instalacji (17 strony), Instrukcja instalacji (20 strony)
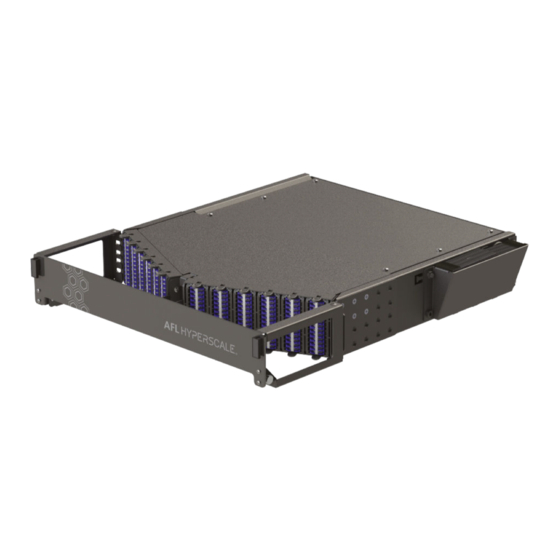
AFL Hyperscale U Series Instrukcja instalacji
Cable Installation
Cable Fiber
Slack Loop
Cable Braid
Cable
Tie-Off Point
Cassette
Identi cation
Labels
25.
Splice Tray 1 (BOTTOM): Tie off cable braid to splice tray. Starting with internal pigtail #1
ber (GREEN), place splice protector into
Cable Fiber
Slack Loop
Cable Braid
Cable
Tie-Off Point
Splice Tray 2 (TOP): Tie off cable braid to splice tray. Starting with internal pigtail #7
26.
ber (GREEN), place splice protector into
12
© AFL Hyperscale. All rights reserved
Splice Tray 1
(Bottom Tray)
YELLOW
YELLOW
holder. Coil ber in suggested route shown.
Splice Tray 2
(Top Tray)
holder. Coil ber in suggested route shown.
Internal SWR
®
Pigtail
Fiber Slack Loop
(Pre-Installed)
Tail
Identi cation
Labels
(RED),
splice to cable
Internal SWR Pigtail
Fiber Slack Loop
(Pre-Installed)
Tail
Identi cation
Labels
Cassette
Identi cation
Labels
(RED),
splice to cable
Series