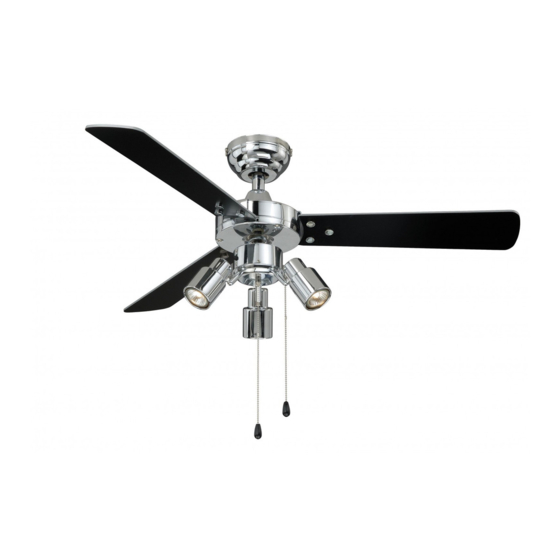
aireRyder FN44444 설치 및 사용 설명서 지침 - 페이지 5
{카테고리_이름} aireRyder FN44444에 대한 설치 및 사용 설명서 지침을 온라인으로 검색하거나 PDF를 다운로드하세요. aireRyder FN44444 6 페이지.

Suction Cup
Bulb GU10 Max.50W
(Excluded)
Reverse
Slide Switch
Forward
Fan Light Pull
Chain
Fig.16-a
Install two pull chains and drops onto the pull chains located in the switch box and light kit.
The pull chain controls the fan speed as follows:
1 pull – High, 2 pulls – Medium, 3 pulls – Low, and 4 pulls – Off.
To turn the light kit "ON" or "OFF", pull the chain that is attached to the light kit.
Caution: If you install a remote control or a wall control for this fan, pull the pull chains to "high speed" of the
fan motor and "on" of the fan light.
Fig.17
F
A
N
C
O
161031
Install bulbs (Excluded).
a. Attach the suction cup to the surface of the halogen bulb lens.
b. Insert and twist the bulb (GU10 MR16C BULB ONLY) into the socket by
using the suction cup.
c. Remove the cup from the halogen bulb lens by pulling the knob of the suction
cup.
d. Repeat with other bulbs.
Do not discard the suction cup, it will be needed when replacing the bulb.
Adjust the spotlight head to a desired position by using the swivel.
Caution: Turn off the electric circuit and allow the fixture to cool down
Fig.15
completely before replacing the bulbs.
Switch Box
Fan Speed Pull
Chain
Install pull
chains and
drops
Turn on the electric circuit at the main fuse
or circuit breaker box.
The slide switch on the switch box sets the direction of fan rotation.
Select the desired direction of fan rotation. Push the slide switch
down for " Forward" and up for "Reverse".
Note: Wait for fan to stop before reversing the direction of blade
rotation.
Reverse
Slide Switch
Forward
Fig.16-b
5
