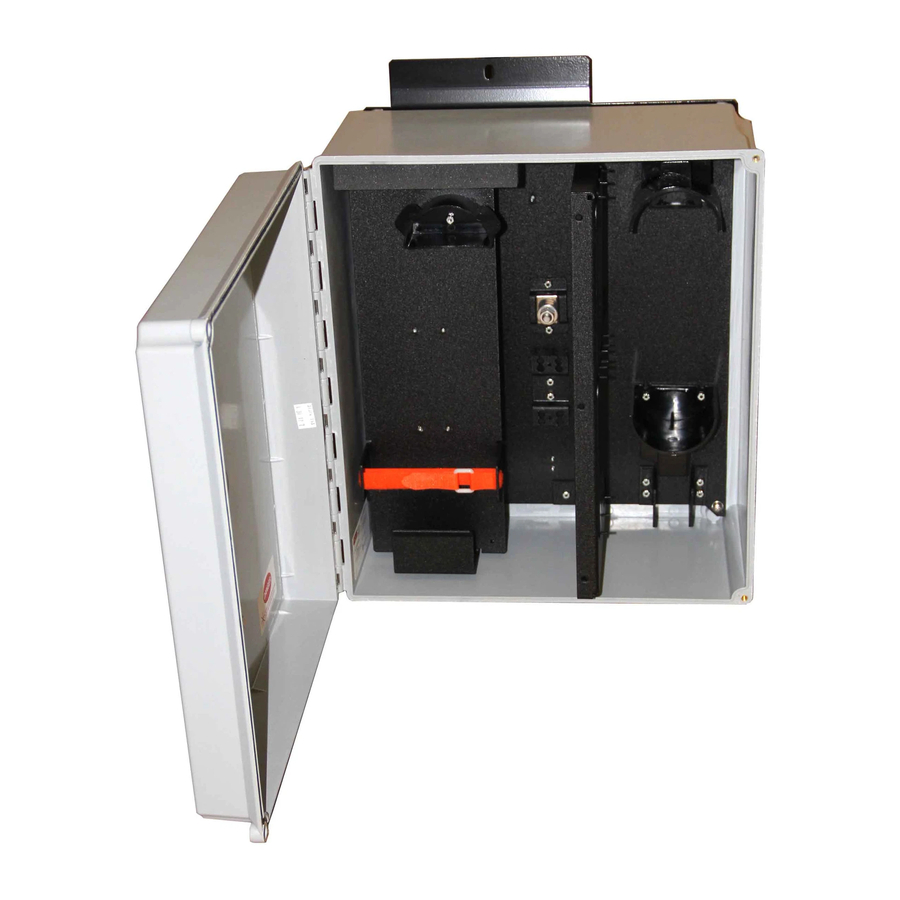
CORNING EDC-02P-NH 매뉴얼 - 페이지 4
{카테고리_이름} CORNING EDC-02P-NH에 대한 매뉴얼을 온라인으로 검색하거나 PDF를 다운로드하세요. CORNING EDC-02P-NH 12 페이지. Environmental distribution center
CORNING EDC-02P-NH에 대해서도 마찬가지입니다: 매뉴얼 (7 페이지)

Page 4
7.
Installing Holes
IMPORTANT: Remove the base plate from the
housing before cutting any holes.
7.1 Determine the size hole needed based on
the fitting being used. Measure and mark the
location of the hole centers, based on
dimensions in Figure 3, on the bottom of the
unit. The 2-inch conduit holes are represented
by the larger circles and the 1-inch conduit
holes by the smaller circles.
7.2 Cut holes as required for your coupling
fitting. Follow local safety practices.
7.3 Install the fittings (purchased separately).
Fitting kits are available in three types. The kit
is dependant on the type of fitting desired for
your application.
7.4 Reinstall the base plate.
8.
Mounting
NOTE: If you will be mounting the EDC without
the stabilizer bracket, remove and discard the
stabilizer bracket. Rotate the top bracket so the
elliptical hole is exposed. Position the housing as
desired and secure using
and bottom brackets.
8.1 When wall-mounting,
a) Remove the stabilizer bracket (Figure 4).
b) Drive
1
/
-inch screws or wall anchors
4
through the stabilizer bracket and into the
mounting surface. Do not install a screw in the
bottom hole of the stabilizer bracket at this time.
c) Hang the unit on the stabilizer bracket,
ensuring that the top mounting bracket is
resting between the two tabs on the
stabilizer bracket (Figure 5).
Figure 3
1
/
-inch screws in the top
4
SRP 003-304 • Issue 9 • July 2004
d) Align the elliptical hole in the bottom
mounting bracket and the bottom hole in
the stabilizer bracket. Install a
through the holes into the mounting
surface.
e) Mounting hardware is not provided.
8.2 When the EDC will be mounted onto a
utility pole:
a) Secure the stabilizer bracket to the pole
using
1
/
-inch screws. Do not install a screw
4
into the bottom bracket at this time.
b) Hang the EDC on the stabilizer bracket,
ensuring that the top mounting bracket is
resting between the two tabs on the
stabilizer bracket.
c) Line up the elliptical hole in the bottom
mounting bracket with the bottom hole in
the stabilizer bracket. Drive a
through the brackets and into the utility
pole.
d) Mounting hardware is not provided.
Figure 4
1
/
-in. screw
4
Figure 5
1
/
-inch screw
4
