Makita BJV180 기술 정보 - 페이지 11
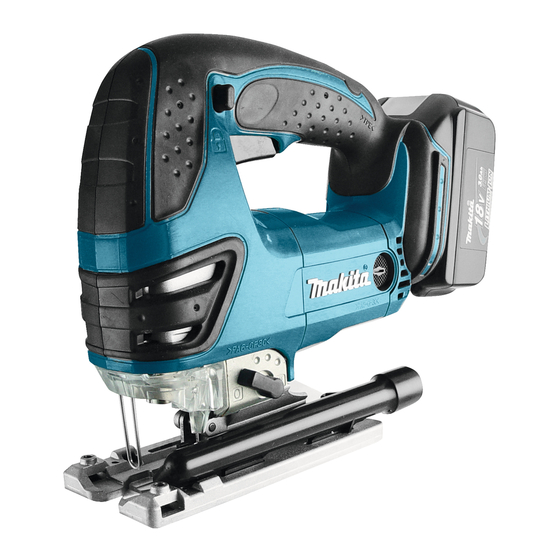
{카테고리_이름} Makita BJV180에 대한 기술 정보을 온라인으로 검색하거나 PDF를 다운로드하세요. Makita BJV180 13 페이지. Cordless jig saw
Makita BJV180에 대해서도 마찬가지입니다: 부품 분석 (3 페이지), 사양 시트 (2 페이지), 사용 설명서 (13 페이지), 사용 설명서 (13 페이지), 사용 설명서 (13 페이지), 사용 설명서 (18 페이지)
R
epair
[3] DISASSEMBLY/ASSEMBLY
[3] -5. Armature (cont.)
ASSEMBLING
Note 2: Place the wire connecting portions upside when assembling Endbell complete to Motor housings (R) and (L)
as illustrated in Fig. 38. And route Lead wires of Endbell complete through the space between the cut portions
of Motor housings (R) and (L). (Fig. 39)
Fig. 38
Lead wires
Motor housing (L)
cut portion
[3] -6. Switch
ASSEMBLING SWITCH LEVER TO SWITCH
Note: Be sure to place both of the two projections of Switch inside Switch lever as illustrated to left in
Fig. 40
[Correct]
projection
[3] -7. Lever 17
DISASSEMBLING
1) Remove Handles (R) and (L) and Gear housing cover section. (Figs. 6, 7 in page 4)
2) Disassemble Lever from Gear housing complete as illustrated in Fig. 41.
Fig. 41
Gear housing complete
Stop ring E-5
Lever 17
Remove Stop ring E-5 from the
shaft portion of Lever 17 using
slotted screwdriver or the like.
Motor housing (R)
cut portion
wire connecting portion
Endbell complete
The two projections of
Switch serves as the guide
for Switch lever.
Switch
Switch lever
Turn Lever 17 to the position III
(= large orbital cutting action).
Fig. 39
space between the cut portions
of Motor housing (R) and (L)
[Wrong]
Pull off Lever 17 from Gear housing
complete. Compression spring 3 and
Cap 5 can now be removed from
Lever 17.
P 11/13
Fig. 40
The projection will
be broken if placed
outside of Switch lever.
Compression spring 3
Cap 5