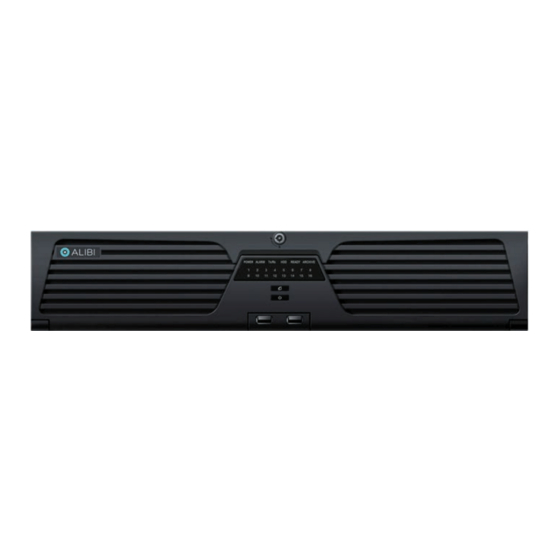
ALIBI ALI-NVR7232R 빠른 설정 매뉴얼 - 페이지 5
{카테고리_이름} ALIBI ALI-NVR7232R에 대한 빠른 설정 매뉴얼을 온라인으로 검색하거나 PDF를 다운로드하세요. ALIBI ALI-NVR7232R 11 페이지.

Disk mounting
handle installed
4.
Slide the HDD into the drive bay as shown in the photo below, and then push the HDD in until it is fully seated. NOTE: If you purchased
your NVR with pre-configured HDDs, install each HDDs in the bay location marked on the HDD.
HDD bay 1 with HDD
HDD inserted into drive bay
To remove an HDD, squeeze the two disk mounting handles together, and then pull the HDD out of the bay.
5.
Repeat steps 3 and 4 above until all HDDs are installed. A diagram showing the drive bay assignments is included on the inside of the
front panel.
6.
Close the front panel and then lock it, if necessary.
5
www.Observint.com
Disk mounting
handle
HDD bay locations diagram
Step 2. Connecting it together – initial system setup
1.
Install the network cameras that will be monitored by the system.
2.
Power on the NVR using the power on / off (I / O) switch on the back panel or the front panel ON / OFF switch.
3.
Power on the monitor.
Some monitors have multiple inputs such including VGA ,HDMI, BNC, etc. If you are using this kind of monitor, configure your monitor to
NOTE
display the input connected to your NVR (HDMI or VGA).
Step 3. Using the Wizard for basic configuration setup
1.
Power on the NVR. Normally, an Alibi logo splash screen appears within 2 minutes. A secondary flash screen will appear showing the
status of the HDDs installed in the NVR.
After the Alibi splash screen appears (see above), the NVR will check the status of HDDs installed within the chassis, and show the
show icons on the screen indicating their status. A green check mark on the icon indicates that the associated HDD is operating
normally. If you installed new (or uninitialized) HDDs in the chassis before running the Wizard, those HDDs must be initialized before
use. HDD initialization can be performed within the wizard and within the firmware menu system.
Following the splash screen, a monitor resolution screen may appear. Open the drop down list and select the monitor resolution you
prefer, then click OK.
2.
The Setup Wizard can assist you in making important configuration settings in NVR. Click Next button on the Wizard window to open
the Login window.
3.
The initial Activation screen requires you to create the NVR administrative (admin) password:
© 2018 Observint Technologies. All rights reserved.
