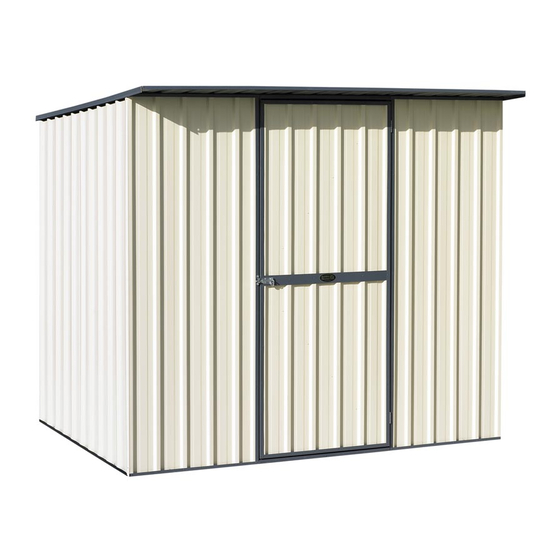
GARDEN MASTER GM2315 조립 지침 매뉴얼 - 페이지 4
{카테고리_이름} GARDEN MASTER GM2315에 대한 조립 지침 매뉴얼을 온라인으로 검색하거나 PDF를 다운로드하세요. GARDEN MASTER GM2315 8 페이지. Sloping roof shed
GARDEN MASTER GM2315에 대해서도 마찬가지입니다: 조립 지침 매뉴얼 (8 페이지)

STEP 3:
END WALLS
1.
Cap the sloping sheets
2.
Rivet the channels at the corners and every 2nd rib in between.
3.
2 rivets up underneath through channel into pan of sheet.
4.
Perform the same again for the other end.
WATCH OUR
SHED ASSEMBLY
VIDEO GUIDE
HERE
STEP 4:
DOOR BRACES
1.
The door braces can be riveted now or after you have
assembled your shed.
2.
Tuck one end of the 'Z' between the bottom channel of the
inside of the door and the sheet. Do the same at the top,
overlapping in the centre behind the padbolt.
If you have a locking 'T' handle you will have to run the
'Z's the opposite way to the diagram.
3.
Rivet the 'Z's at the ends, and in the centre of the channel
it is tucked under, and through the overlap in the centre.
Two or three more rivets will be required through the door
sheeting into the 'Z', but they will need to be riveted through
from the outside of the door for a neater appearance.
4.
You may need to cut or bend the flange at the bottom
and the top of the 'Z' if it catches on the door jamb when
opening or closing (diagram 5).
DIAGRAM 5
before
5
If you need advice, call us
4
If you choose to vary from these instructions your warranty will be impaired.
with
1515mm channels.
B
F
F
after
FREE
on
0800 807 433
or email us at [email protected]
YOU WILL NEED:
4 x 1980mm - 1830mm sloping sheets
B
(2 left, 2 right)
4 x 1515mm channels for end walls
F
(2 per side)
B
Channels will end 15-20mm short at tops
of end walls and 10-15mm at bottoms.
YOU WILL NEED:
Rivets as supplied
J
K
2 x 'Z' Door braces
door with padbolt
F
Locking T handle
ABOVE
Z door braces in position on
the inside of door sheet
