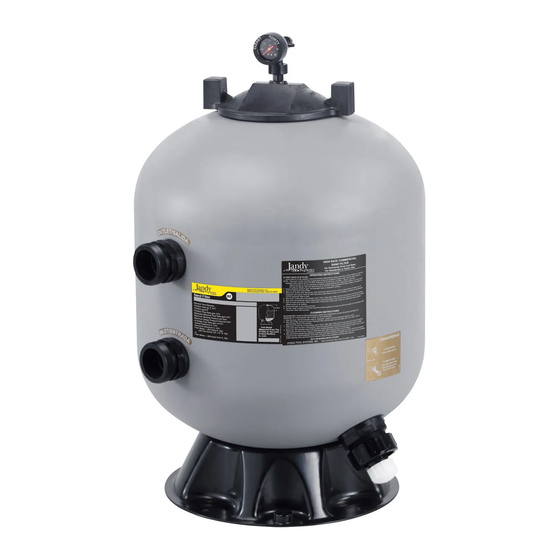
Jandy JS Series 설치 및 운영 매뉴얼 - 페이지 13
{카테고리_이름} Jandy JS Series에 대한 설치 및 운영 매뉴얼을 온라인으로 검색하거나 PDF를 다운로드하세요. Jandy JS Series 20 페이지. Composite sand filters, sidemount
7.
If the multiport backwash valve has a "Rinse"
position do the following:
a. Set the selector handle in "Rinse" position.
b. Start the pump and run for one minute. This
helps settle the sand bed.
c. Stop the pump
8.
Set backwash valve handle to normal operation
position or to the "Filter" position if a multiport
backwash valve is installed. If there is a slide
valve, turn handle to unlock and pull fully upwards
to normal filter position.
9.
Make certain all inlet and return lines to the pool
are open to allow free movement of water from the
pool and returning to the pool.
10. Completely open the air release valve on the
gauge/air release assembly by turning the knob on
the back of the assembly fully counterclockwise.
Do not remove the knob.
11. Stand clear of the filter and start the pump. When a
steady stream of water starts to come out of the air
release valve, close the valve.
12. Ensure that water is returning to the pool. The
system is now in normal filtration mode.
13. After the pressure gauge has stabilized, compare
the pressure reading to the original startup "Clean"
pressure noted from the initial installation of the
product. If the pressure gauge after the backwash
procedure indicates more than 5 psi difference
above that reading, it will be necessary to
chemically clean the sand bed. See Section 5.3,
"Chemical Cleaning Procedure".
5.2 Optimal Filter Performance
Determine the need to backwash your filter by
waiting for a 10-12 psi increase above the "Clean" filter
pressure, or by determining that there is a 30% reduction
in flow compared to a 'Clean" filter condition. It is not
recommended to backwash the filter on a timed basis,
e.g. once a month. Pool, weather, dust conditions and
pool occupancy all affect the frequency of the need to
backwash.
NOTE Backwashing a fi lter too often will actually
diminish the fi lter performance by limiting its
ability to catch fi ner particles.
JS Series Sidemount Sand Filters
continually for 24 hours, day after day. Allowing the
filter to stop periodically will allow slight disturbance
of the "mud-deck" at the surface of the sand bed, which
will lower the running pressure slightly after rest, and
lengthen the time between backwashing without any
decrease in filtration performance.
5.3 Chemical Cleaning Procedure
deposits and rust from the sand bed with a 12 hour over-
night soaking when used according to the following
instruction. Follow these instructions carefully. Do not
allow the cleaning solution to be pumped back into
the pool.
1.
2.
3.
4.
5.
6.
7.
8.
9.
10. Turn the pump on and pour the cleaning
11. Replace the lid on the pump.
12. Turn off the pump and leave the filter valve in the
13. Disconnect the power at the breaker to disable
14. After 12 hour soak, turn on the power breaker and
For the best filtration, do not run your system
Sand filter chemical cleaners remove oils,
Use an approved cleaner for sand filters. Approved
cleaners should be readily available through your
pool chemical retail store, or pool maintenance
service or supplier.
Mix the proper solution per the manufacturer's
label instructions.
Backwash the filter per Section 5.1, "Filter
Cleaning Instructions".
Shut the pump off.
If the filter is installed below the pool water level,
close the appropriate isolation valve(s) to prevent
the pool from draining.
With the pump off and automatic controls
disabled, remove filter water drain cap (center
threaded cap on drain fitting) and drain water from
filter.
After filter has drained, replace cap on drain
fitting.
Place the backwash valve in "Backwash" position.
Make certain backwash lines are open.
Remove the strainer pot lid from the filter pump.
solution slowly into the pump strainer until the
recommended amount of cleaner is introduced to
thoroughly saturate the sand bed.
"Backwash" position.
automatic controls. Allow the filter to stand for 12
hours.
follow backwashing instructions in Section 5.1,
"Filter Cleaning Instructions".
Page 13