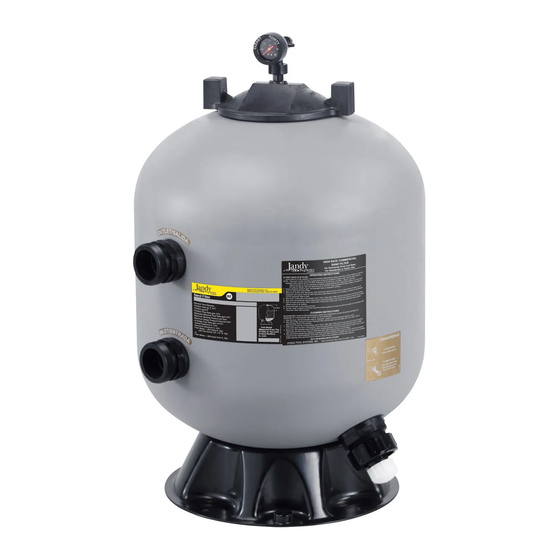
Jandy JS Series 설치 및 운영 매뉴얼 - 페이지 14
{카테고리_이름} Jandy JS Series에 대한 설치 및 운영 매뉴얼을 온라인으로 검색하거나 PDF를 다운로드하세요. Jandy JS Series 20 페이지. Composite sand filters, sidemount

Page 14
15. After chemical cleaning, your filter should return
very close to the original "Clean" pressure reading
on the filter pressure gauge that was noted at the
time of the original installation with fresh sand. If
that value is not available, note this new "Clean"
pressure reading for future reference.
16. Turn the bezel ring on the filter gauge assembly so
that the arrow next to the word "Clean" is aligned
with the needle.
Section 6. Maintenance
6.1 General Maintenance
1.
Wash the outside of the filter with a mild detergent
and water. Rinse off with a hose. Do not use
solvents to clean the fi lter, solvents will damage
the plastic components of the fi lter.
2.
Check pressure during operation at least once a
week.
3.
Remove any debris from the skimmer basket and
hair/lint pot on pump. (Only do this with the pump
not running.)
4.
Check pump and filter for any leaks. If any leaks
develop, turn off the pump and call a qualifi ed
pool service technician.
5.
Product safety signs or labels should be
periodically inspected and cleaned by the product
user as necessary to maintain good legibility from
a safe viewing distance.
6.
Product safety signs or labels should be replaced
by the product user when a person with normal
vision, including corrected vision, is no longer
able to read the safety signs or label message panel
text at a safe viewing distance from the hazard.
In cases where the product has an extensive
expected life or is exposed to extreme conditions,
the product user should contact either the product
manufacturer or some other source to determine
means for obtaining replacement signs or labels.
7.
Installation of new replacement safety signs or
labels should be in accordance with the sign or
label manufacturer's recommended procedure.
6.2 Pressure Gauge
1.
During operation of the filtration system, check
the pressure gauge/air release assembly for air or
water leaks at least once a week.
2.
Keep the pressure gauge in good working order.
If you suspect a problem with the gauge, Zodiac
recommends you call a qualified service technician
to do any work on the filter/pump system.
JS Series Sidemount Sand Filters
Section 7. Winterizing
1.
2.
3.
4.
5.
6.
7.
Section 8. Removing the Lid
cleaning or sand replacement, follow these instructions:
1.
2.
3.
4.
Inspect the lid and tank for any damage before
installing the lid. A damaged lid or tank could cause
the lid to be blown off which can result in death,
serious personal injury, or property damage.
Backwash the filter. See Section 5, "Filter
Cleaning".
Turn OFF the pump and circuit breakers.
Open the air release valve on top of the filter.
Remove the drain cap at the base of the filter to
ensure that the tank is empty. Store the drain cap
and seal in a safe place. Do not reinstall until next
season at start-up.
Drain system piping of all water.
If the multiport backwash valve has a "Winterize"
position, move selector lever to that position
which leaves all ports partially open for the winter
non-operation, and on some backwash valves also
moves the seal to a relaxed position.
Cover the system with a tarpaulin or plastic
sheet to protect it from the weather. Do not wrap
electrical motors in plastic.
When it becomes necessary to remove the lid for
WARNING
Never attempt to adjust or remove the
lid when the pump is running or there is
pressure in the system. This can cause
product failure or also cause the filter lid
to be blown off which can result in death,
serious personal injury, or property
damage.
Before attempting to loosen or remove the lid, turn
OFF the pump and OPEN the air release valve on
top of the filter. DO NOT attempt to loosen or
remove the lid while the pump is running or if the
filter pressure gauge indicates there is pressure in
the filter.
First, try to remove the lid by hand using the
handles.
If removal by hand is not successful, use a mallet
or soft-faced hammer to alternately strike the
handles to loosen the lid.
Before reinstalling the lid, read Section 3.7, "Lid
Installation".
WARNING
