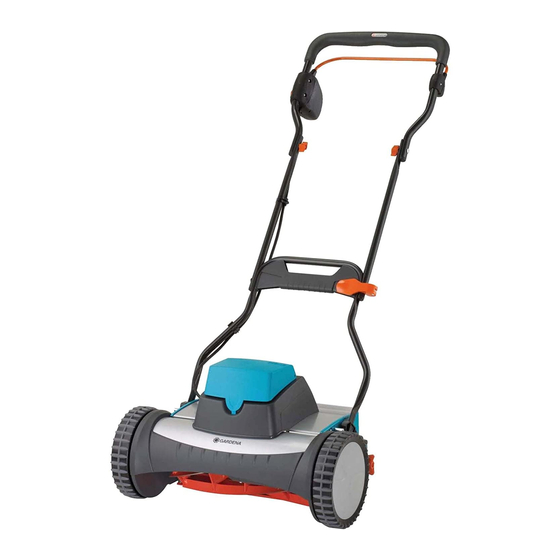
Gardena 380 AC 사용 설명서 - 페이지 9
{카테고리_이름} Gardena 380 AC에 대한 사용 설명서을 온라인으로 검색하거나 PDF를 다운로드하세요. Gardena 380 AC 13 페이지. Accu rechargeable cylinder lawnmower
Gardena 380 AC에 대해서도 마찬가지입니다: 사용 설명서 (13 페이지), 사용 설명서 (13 페이지)
Q
Changing Accu :
D
F
E
Repairs :
1. Unhook upright and clean cylinder mower.
2. Check cylinder
these with a grindstone if necessary.
O
3. Unscrew internal hexagon screws
wrench (5 mm) anticlockwise until the cylinder
4. Push the feeler gauge supplied (thin strip of metal)
R
between one blade
5. Tighten left internal hexagon screw
hexagon wrench (5 mm) until the feeler gauge
P
gently.
6. Continue turning the cylinder until the blade
adjusted on the left side, is exactly above the lower blade
on the right side.
7. Tighten the right internal hexagon screw
hexagon wrench (5 mm) until the feeler gauge
gently.
8. Rotate cylinder
open up the internal hexagon screw
affected.
When the cylinder and the lower blade can hardly be heard
O
touching each other, the cutting mechanism has been adjusted
correctly.
9. Cutting test:
S
Place a strip of paper
that it points towards the spindle of the cylinder
10. Turn cylinder
P
If the lower blade is set correctly
as if with scissors.
11. Repeat the cutting test on the other blades
If the Accu capacity is completely exhausted or if the Accu can
C
no longer be recharged it must be exchanged. New Accus are
available directly from GARDENA Service.
1. Press Accu cover
release the tensioning belt
2. Pull flat plug
from the battery connections (see adhesive label on Accu).
3. Remove Accu
4. Dispose of old Accu (see 7. Putting into Storage).
5. Fit new Accu (see 3. Assembly).
On safety grounds, only original GARDENA spares
A
may be used.
Please contact GARDENA Service if it is necessary to replace
the cutting tool, which will only become blunt after several years
use if well-maintained.
O
and lower blade
Q
O
on the cylinder and the lower blade
O
. If a banging noise is produced during this,
S
in such a way on the lower blade
O
carefully.
P
C
lightly at the front and open up and
F .
E
backwards (not by the cable) and disconnect it
D
from the Accu-compartment.
P
for notches and remove
with an internal hexagon
O
turns freely.
R
Q
with an internal
R
is held
O
, already
Q
with an internal
R
is held
Q
slightly on the side
O
.
the paper will be cut off
O
.
P
.
P
P
19