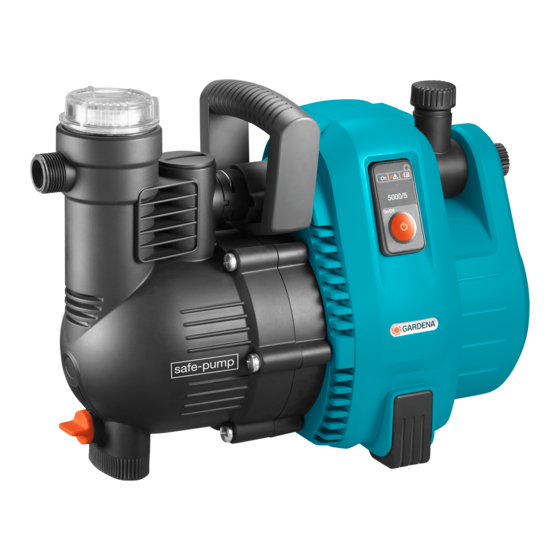
Gardena 6000/6 inox Premium 1736 사용 설명서 - 페이지 8
{카테고리_이름} Gardena 6000/6 inox Premium 1736에 대한 사용 설명서을 온라인으로 검색하거나 PDF를 다운로드하세요. Gardena 6000/6 inox Premium 1736 17 페이지. Garden pump
Gardena 6000/6 inox Premium 1736에 대해서도 마찬가지입니다: 사용 설명서 (10 페이지), 사용 설명서 (12 페이지), 운영자 매뉴얼 (14 페이지), 운영자 매뉴얼 (10 페이지), 운영자 매뉴얼 (10 페이지)

7. Trouble-Shooting
Free the
impeller:
"
Cleaning the flow sensor:
D
H
C
F
E G
Problem
Pump runs, but the suction
action doesn't take place
DANGER! Electric shock!
Risk of injury due to electric shock.
v Disconnect Garden Pump from the mains before
trouble-shooting.
An impeller blocked by dirt can be freed again.
v Turn the impeller bolt
This will free the blocked impeller.
If the flow sensor is dirty, this may result in spurious error
messages (LED flashes orange).
1. Unscrew both screws
2. Remove the cover
r
3. Undo the screw
and detach the clip
t
4. Unscrew the cap
u
5. Remove the impeller
flow sensor.
6. Re-fit the impeller
i
direction.
7. Screw the cap
into place clockwise.
u
8. Secure the cap
by way of the clip
u
9. First insert the cover
two screws
at the bottom.
e
Possible Cause
Pump sucks in air at a joint.
Leaky or damaged suction
hose.
The pump was not filled with
the liquid to be pumped.
The liquid escapes over the
hose which is connected to
the delivery side during the
suction action.
Absolutely vacuum-resistant connection is achieved by using
GARDENA Suction Hoses (see point "8. Available accessories").
using a screwdriver.
w
.
e
.
.
z
anticlockwise.
and clean it. Clean the housing of the
i
with the metal part in the mounting
using the screw
z
at the top and then tighten the
r
Remedy
v Seal connections on suction
side so are airtight.
v Check suction line for damage
and seal so is airtight.
v Fill the pump
(see "4. Operation").
1. Fill the pump again
(see "4. Operation").
2. When starting operation hold
the pressure hose approx.
1 m vertically above the
pump, until the suction
action has taken place.
.
t
19
