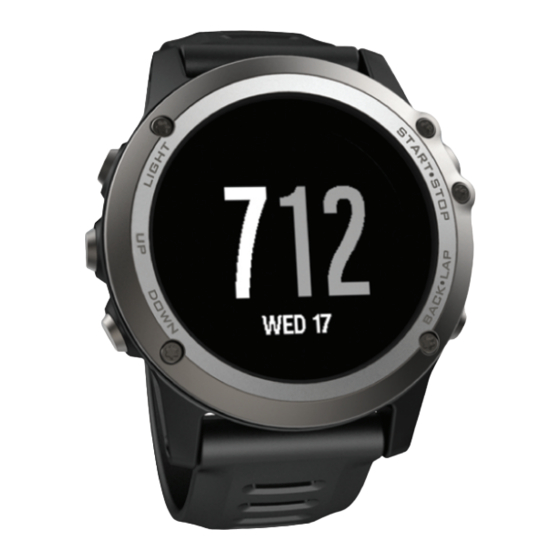
Garmin Fenix 3 소유자 매뉴얼 - 페이지 16
{카테고리_이름} Garmin Fenix 3에 대한 소유자 매뉴얼을 온라인으로 검색하거나 PDF를 다운로드하세요. Garmin Fenix 3 26 페이지. Gps watch garmin fenix 3
Garmin Fenix 3에 대해서도 마찬가지입니다: 소유자 매뉴얼 (28 페이지)

Widgets: Provide information at a glance, including sensor data
and notifications.
Apps: Add interactive features to your watch, such as new
outdoor and fitness activity types.
Downloading Connect IQ Features
Before you can download Connect IQ features from the Garmin
Connect Mobile app, you must pair your fēnix 3 device with your
smartphone running the Garmin Connect Mobile app.
1
From the Garmin Connect Mobile app, select
IQ Store.
2
Select your fēnix 3 device.
Downloading Connect IQ Features Using
Your Computer
1
Connect the device to your computer using a USB cable.
2
Go to www.garminconnect.com.
3
From your devices widget, select Connect IQ Store.
4
Select a Connect IQ feature.
5
Select Send to Device, and follow the on-screen
instructions.
Widgets
Your device comes preloaded with widgets that provide at-a-
glance information. Some widgets require a Bluetooth
connection to a compatible smartphone.
Notifications: Alerts you to incoming calls and texts according
to your smartphone notification settings.
Calendar: Displays upcoming meetings from your smartphone
calendar.
Weather: Displays the current temperature and weather
forecast.
Activity Tracking: Tracks your daily step count, step goal,
distance traveled, calories burned, and sleep statistics.
Sensor Information: Displays information from an internal
sensor or a connected ANT+ sensor.
Compass: Displays an electronic compass.
Viewing Widgets
Your device comes preloaded with several widgets, and more
are available when you pair your device with a smartphone.
1
From any screen, hold DOWN.
The clock appears.
2
Select UP or DOWN.
The device cycles through the available widgets.
3
If you are recording an activity, select BACK to return to the
activity data pages.
VIRB
Remote
™
The VIRB remote function allows you to control your VIRB
action camera from a distance. Go to
purchase a VIRB action camera.
Controlling a VIRB Action Camera
Before you can use the VIRB remote function, you must enable
the remote setting on your VIRB camera. See the VIRB Series
Owner's Manual for more information. You must also set the
VIRB widget to be shown in the widget loop
Widget
Loop).
1
Turn on your VIRB camera.
2
On your fēnix 3 device, select UP or DOWN from the watch
face to view the VIRB widget.
3
Wait while the device connects to your VIRB camera.
4
Select an option:
12
> Connect
www.garmin.com/VIRB
to
(Customizing the
• To record video, select START.
The video counter appears on the fēnix 3 screen.
• To stop recording video, select STOP.
• To take a photo, select DOWN.
Customizing Your Device
Activity App Settings
These settings allow you to customize each pre-loaded activity
app based on your needs. For example, you can customize data
pages and enable alerts and training features. Not all settings
are available for all activity types.
Hold UP, select Settings > Apps, and select an activity.
Data Screens: Allows you to show or hide data screens for the
selected activity
(Customizing the Data
Alerts: Sets the training or navigation alerts for the selected
activity.
Metronome: Plays tones at a steady rhythm to help you
improve your performance by training at a faster, slower, or
more consistent cadence
Auto Lap: Sets the options for the auto lap feature
Auto Pause: Sets the device to stop recording data when you
stop moving or when you drop below a specified speed
(Enabling Auto Pause
).
®
Auto Run: Sets the device to detect ski runs automatically using
the built-in accelerometer.
3D Speed: Sets the device to calculate your speed using both
your elevation change and your horizontal movement over
ground
(3D Speed and
Distance).
3D Distance: Sets the device to calculate your distance traveled
using both your elevation change and your horizontal
movement over ground.
Auto Scroll: You can use the auto scroll feature to cycle
through all of the activity data screens automatically while the
timer is running
(Using Auto
GPS: Sets the mode for the GPS antenna (UltraTrac).
Pool Size: Sets the pool length for pool swimming
Pool
Swim).
Stroke Detect.: Enables stroke detection for pool swimming.
Power Save: Sets the power-save timeout setting for an activity
(Power Save Timeout
Settings).
Background Color: Sets the background color of each activity
to black or white.
Accent Color: Sets the accent color of each activity to help
identify which activity is active.
Status: Shows or hides the selected activity in the apps list.
Move Up: Adjusts the position of the activity in the apps list.
Move Down: Adjusts the position of the activity in the apps list.
Remove: Deletes the activity.
NOTE: This deletes the activity from the apps list and all
user-entered activity settings. You can restore all of the
device settings to the factory default values to add a removed
activity back to the list
(Restoring All Default
Edit Name: Allows you to edit the activity name.
Customizing the Data Screens
You can show, hide, and change the layout and content of data
screens for each activity.
1
Hold UP.
2
Select Settings > Apps.
3
Select the activity to customize.
4
Select Data Screens.
Screens).
(Running with the
Metronome).
(Auto Lap
Scroll).
(Going for a
Settings).
Customizing Your Device
).
®
