Garmin Fishfinder 240 Blue 소유자 매뉴얼 - 페이지 17
{카테고리_이름} Garmin Fishfinder 240 Blue에 대한 소유자 매뉴얼을 온라인으로 검색하거나 PDF를 다운로드하세요. Garmin Fishfinder 240 Blue 50 페이지. Garmin fishfinder 160 blue owner's manual
Garmin Fishfinder 240 Blue에 대해서도 마찬가지입니다: 소유자 매뉴얼 (50 페이지), 파일럿 매뉴얼 (12 페이지), 사양 (2 페이지), 사양 (2 페이지), 소유자 매뉴얼 (50 페이지), 소유자 매뉴얼 (50 페이지)

Testing the Installation
While it is possible to perform some checks with the boat trailered, to
properly test the installation the boat should be in the water.
Press the Power button and the Fishfinder 160 should power on. If the
unit fails to power on, verify that the wiring adapter is seated properly in
the back of the unit, the Red and Black wires are connected to the correct
polarity, and that the 2-Amp fuse is installed and not blown. If the unit is
connected to a power supply that exceeds 18 VDC, a 'Battery Voltage High'
warning will be displayed and the unit will turn off.
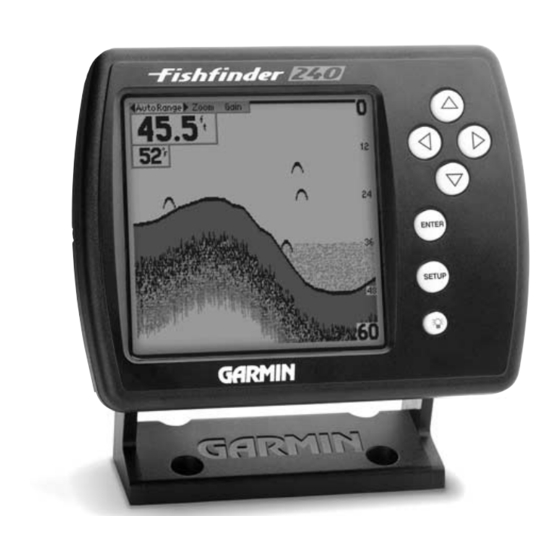
As the unit powers on, it should immediately start showing the bottom.
Verify that the unit is not in the simulator mode. If the unit is in the
simulator mode, make sure that the transducer is connected to the wiring
harness.
To test the transducer installation, gradually increase the boat speed
while checking the unit operation. If the unit displays intermittently or
fails to display, verify that the transducer is aligned parallel with the bottom
and if necessary, adjust the transducer height until the unit operates
correctly. It may be necessary to make several adjustments to ensure proper
operation throughout the speed range.
When adjusting the depth of the transducer, make the adjustments in small incre-
ments. Placing the transducer too deep can adversely affect the boat's performance
and place the transducer at greater risk of striking underwater objects.
Installation
Testing the Installation
9
