2N Helios IP Uni 설치 매뉴얼 - 페이지 10
{카테고리_이름} 2N Helios IP Uni에 대한 설치 매뉴얼을 온라인으로 검색하거나 PDF를 다운로드하세요. 2N Helios IP Uni 17 페이지. Door access intercom
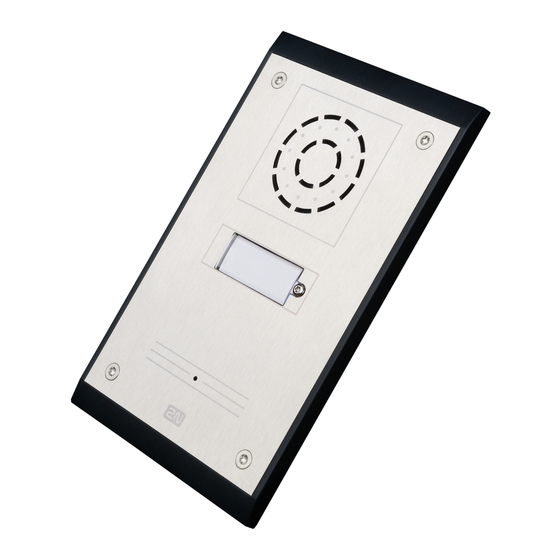
1.4 Button Tags – Insertion and
Replacement
Tag Printing
1.
Note
Tag Inserting / Replacing
®
2N
access to the name plates. The tags are easy
to insert and replace even without a manual.
You need not remove the front panel and
thus are not exposed to the risk of loss of
components while replacing the tags.
1. Loosen the name plate screw using
2. Remove the used or blank name tag
3. Close the name plate window and
4. Check the click effect of the buttons:
Button Tags – Insertion and Replacement
Every name plate includes a piece of foil, which can be written over manually,
using a waterproof permanent marker.
Always use waterproof foil (enclosed or other) for the tags. Never use
paper or ink jet printing to avoid damage due to water leakage!
Helios IP Uni provides an intuitive, easy
the wrench enclosed, for example.
You can open the name plate window
like a door without losing the
tightened screw.
and insert a new tag.
tighten the screw appropriately.
if the button fails to click properly
when pressed (when moved by
approx. 0.5 mm), the tag is too thick
or thin. Make sure that the button
clicks when you press it on either
end.
1.4