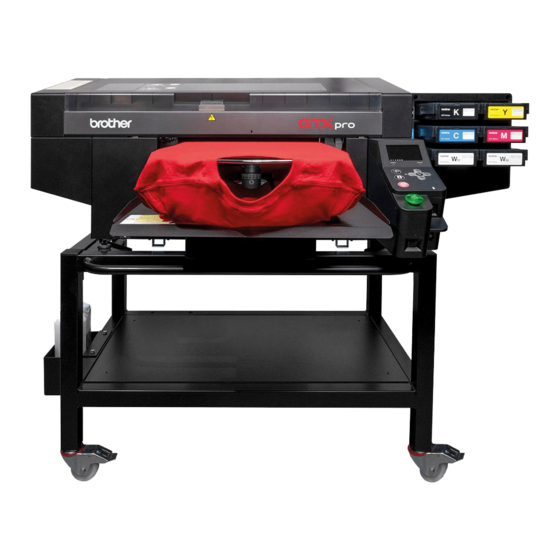
Brother GTX pro 빠른 사용 설명서 - 페이지 5
{카테고리_이름} Brother GTX pro에 대한 빠른 사용 설명서을 온라인으로 검색하거나 PDF를 다운로드하세요. Brother GTX pro 15 페이지. Garment printer
Brother GTX pro에 대해서도 마찬가지입니다: 참조 매뉴얼 (13 페이지), 사용자 설명서 (16 페이지), 설정 매뉴얼 (40 페이지)

Open the cartridge's lid on a flat surface and remove the empty pouch. Carefully unpack a new ink
pouch from its shipping carton.
Push the green tip end of the ink pouch into the cartridge until it clicks into place. Straighten the ink
pouch to align it with the gutter of the lid of cartridge, and mount in position inside the metal spring
by pulling it with your hand. If the edge of the ink pouch is bent or wrinkled, smooth it out with your
hands to remove wrinkles.
Place the pouch in horizontal alignment with the cartridge. Ensure lines of the catridge and pouch
are in alignment.
Close the lid, and verify the spring is rolling to the front. If spring does not roll, smooth out wrinkles
and try again. Place the cartridge at a 45° angle and push on the 2 upper metallic latches to add
a bit more tension on the ink pouch. Double-check that you have not generated more wrinkles.
Clean the outside of the green tip end that goes in contact with needle inside printer.
Attach a shelf life sticker included with ink pouch onto the front of the cartridge.
> If you are not trying to avoid wrinkles like explained above, you could get the errors 2084 & 2085
displaying: "Winding-up Failure"
BEST PRACTICE FOR PRINTING - A MUST!
> Always keep the closest distance between the printheads and the surface of the garment.
It is very important for the long life of your printer.
INK POUCH REPLACEMENT
Good Gap
Excessive Gap
5
