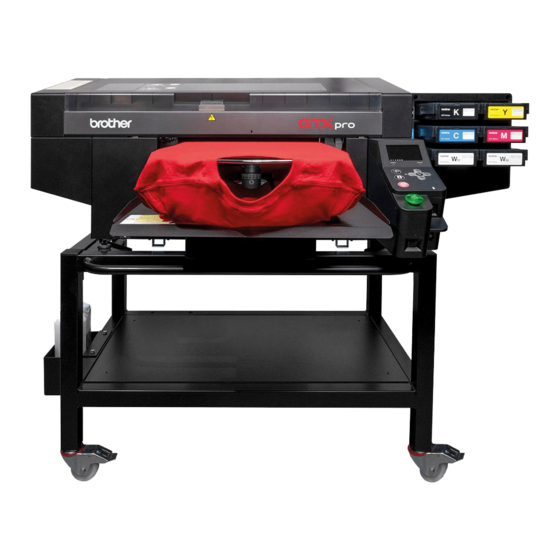
Brother GTX pro 설정 매뉴얼 - 페이지 23
{카테고리_이름} Brother GTX pro에 대한 설정 매뉴얼을 온라인으로 검색하거나 PDF를 다운로드하세요. Brother GTX pro 40 페이지. Garment printer
Brother GTX pro에 대해서도 마찬가지입니다: 참조 매뉴얼 (13 페이지), 빠른 사용 설명서 (15 페이지), 사용자 설명서 (16 페이지)

8.
(e)
4
M4
C3
3
Y2
2
Bk1
1
M
M4
C3
C
Y2
Y
Bk1
K
Remove four caps of the head.
Check that the head and the marker of each tube are matched
and connect the tubes one by one from back to front of the
machine by rotating the nut until it stops.
Do not rotate the nut as illustrated in (e). It could
disconnect the tube and leak the contained ink.
IMPORTANT
Be sure to remove the caps attached to the
head before connecting.
3
Filling the cleaning solution
FULL
X0380
LOW
Pull out the cleaning liquid tank from the side of the printer;
enough to open the lid of the tank and fill the tank with the
cleaning solution until reaching the "FULL" line.
When filling is completed, close the lid and slowly push the
cleaning liquid tank back inside the printer for storage.
When you pour the cleaning solution, be sure
not to exceed the "FULL" line.
IMPORTANT
After filling the cleaning solution, make sure to
push the cleaning liquid tank in to the end. The
cleaning liquid tank that is not properly inserted
TIPS
causes an error and disables printing.
X0025
12
