Brother DCP120C - Flatbed Multifunction Photo Capture Center 빠른 설정 매뉴얼 - 페이지 20
{카테고리_이름} Brother DCP120C - Flatbed Multifunction Photo Capture Center에 대한 빠른 설정 매뉴얼을 온라인으로 검색하거나 PDF를 다운로드하세요. Brother DCP120C - Flatbed Multifunction Photo Capture Center 24 페이지. Quick setup guide - french
Brother DCP120C - Flatbed Multifunction Photo Capture Center에 대해서도 마찬가지입니다: 빠른 시작 매뉴얼 (33 페이지), 부품 참조 목록 (30 페이지), 빠른 설정 매뉴얼 (33 페이지), (프랑스어) 빠른 설치 가이드 (24 페이지)
STEP2
Installing the Driver & Software
For Mac OS
Important
Make sure that you have finished the
instructions from Step 1 Setting Up the
Machine on page 4-9.
1
Unplug the machine from the AC outlet and
from your computer, if you already connected
an interface cable.
2
Turn on your Macintosh
3
Put the supplied CD-ROM into your CD-ROM
drive.
4
Double-click the Start Here 9.1-9.2 icon to
install the printer and scanner drivers. If the
language screen appears, choose your
language.
5
Click MFL-Pro Suite to install.
6
Follow the on-screen instructions, and restart
your Macintosh
7
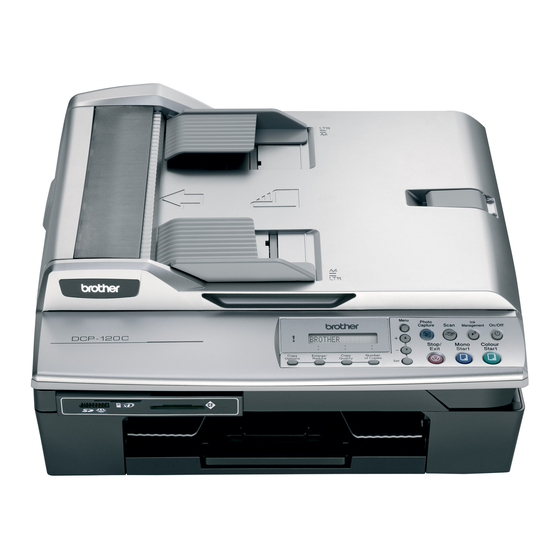
Open the scanner cover to its open position.
18
®
9.1 to 9.2
®
.
®
.
8
Connect the USB cable to the USB socket
marked with a
USB socket above and to the left of the ink
cartridge slots, as shown below.
9
Carefully route the USB cable through the
trench and out the back of the machine as
shown below.
Then, connect it to your Macintosh
Improper Setup
• DO NOT connect the machine to a USB port on
a keyboard or a non-powered USB hub.
Brother recommends that you connect the
machine directly to your computer.
• Make sure that the cable does not restrict the
cover from closing, or an error may occur.
10
Lift the scanner cover to release the lock.
Gently push the scanner cover support down
and close the scanner cover.
®
Macintosh
symbol. You will find the
®
.