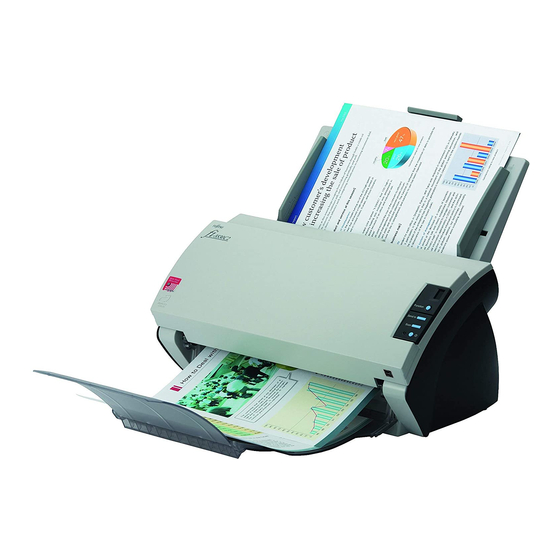
Fujitsu FI-5530C2 시작하기 매뉴얼 - 페이지 20
{카테고리_이름} Fujitsu FI-5530C2에 대한 시작하기 매뉴얼을 온라인으로 검색하거나 PDF를 다운로드하세요. Fujitsu FI-5530C2 27 페이지. Image scanner
Fujitsu FI-5530C2에 대해서도 마찬가지입니다: 시작하기 (28 페이지), 설치 절차 매뉴얼 (6 페이지), 사양 (2 페이지), 시작하기 매뉴얼 (11 페이지), 청소 지침 (2 페이지), 청소 지침 (2 페이지), 시작하기 (11 페이지)

9. In the [Scan Settings] dialog box, clear the
[Save to file] checkbox.
You only check the operation now, so you
HINT
do not have to save to file.
10. Click [Scanner Settings].
⇒
A setup dialog box appears for you to config-
ure scanner driver settings.
11. Configure scanner settings such as the resolu-
tion and paper size.
To use FUJITSU TWAIN 32
On the dialog box below, configure scan settings,
and then click the [OK] button.
12
To use FUJITSU ISIS
On the dialog box below, configure scanning set-
tings, and then click the [OK] button.
⇒
You are returned to the [Scan Settings] dialog
box.
12. Click the [Scan] button.
When you are using FUJITSU TWAIN 32,
HINT
you may see the TWAIN Driver setup dia-
log box again. If so, click the [Scan] button
on the dialog box.
⇒
The document is scanned and the scanned
image is displayed in the [ScandAll PRO]
window.
If the scanned document image is displayed in the win-
dow, it means that the scanner driver is installed prop-
erly.
For further information about how to scan documents,
refer to "fi-5530C2 Operator's Guide" contained in the
Setup CD-ROM.
