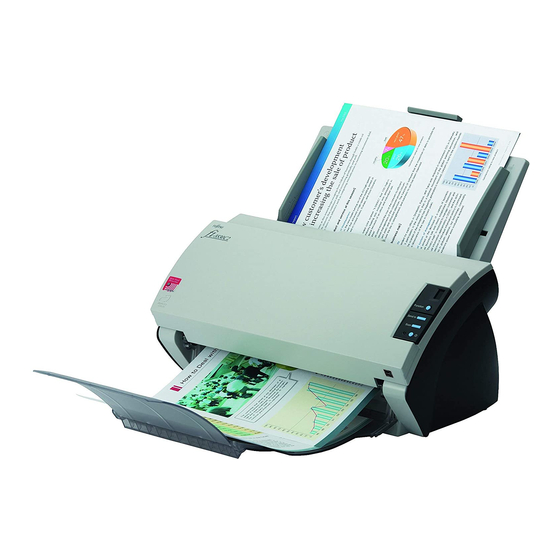
Fujitsu FI-5530C2 시작하기 - 페이지 8
{카테고리_이름} Fujitsu FI-5530C2에 대한 시작하기을 온라인으로 검색하거나 PDF를 다운로드하세요. Fujitsu FI-5530C2 11 페이지. Image scanner
Fujitsu FI-5530C2에 대해서도 마찬가지입니다: 시작하기 (28 페이지), 설치 절차 매뉴얼 (6 페이지), 사양 (2 페이지), 시작하기 매뉴얼 (27 페이지), 시작하기 매뉴얼 (11 페이지), 청소 지침 (2 페이지), 청소 지침 (2 페이지)

Installation (Custom)
1. Perform steps 1. to 3. in
mended)" (page.
2. Click the [Installation (Custom)] button.
3. Select the check box for the software to install
and click the [Next] button.
4. Follow the instructions on the screen to pro-
ceed with the installation.
"Installation (Recom-
7).
2.4 Checking Scanner Driver
Operation
This section explains how to check the operation of the
installed scanner driver by using PaperStream Capture.
Make sure that the scanner driver is installed properly,
following the procedure below.
■ Checking the Operation of the
Scanner Driver
1. Load the document on the scanner.
For information about how to load the document,
refer to section 1.2 in fi-5530C2 Operator's
Guide.
2. Start up PaperStream Capture.
• Windows XP/Windows Vista/Windows
Server 2008/Windows 7
Select the [Start] menu [All Programs]
[PaperStream Capture] [PaperStream
Capture].
• Windows Server 2012/Windows 8
Right-click the Start screen, select [All apps]
on the app bar, and then select [PaperStream
Capture] under [PaperStream Capture].
• Windows Server 2012 R2/Windows 8.1
Click [] on the lower left side of the Start
screen, and then select [PaperStream Capture]
under [PaperStream Capture].
To display [], move the mouse cursor.
3. Click the [Scan] button in the Menu Area.
4. Click one of the three types of document
profiles that are prepared beforehand.
Below is an example of when the document
profile [Black and White] is clicked.
⇒
The document is scanned, and the scanned
image is displayed.
8
