Fujitsu fi-5650C 시작하기 매뉴얼 - 페이지 19

{카테고리_이름} Fujitsu fi-5650C에 대한 시작하기 매뉴얼을 온라인으로 검색하거나 PDF를 다운로드하세요. Fujitsu fi-5650C 40 페이지. Image scanner
Fujitsu fi-5650C에 대해서도 마찬가지입니다: 설치 절차 매뉴얼 (7 페이지), 설치 절차 매뉴얼 (9 페이지), 설치 절차 (3 페이지), 사양 (2 페이지), 브로셔 및 사양 (2 페이지), 사용 설명서 (11 페이지), 소모품 교체 및 청소 지침 (19 페이지), 청소 지침 (2 페이지), 청소 및 유지 관리 (39 페이지)
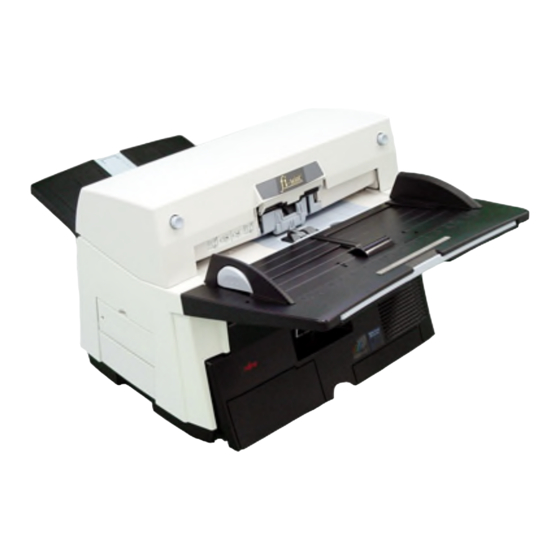
Fujitsu fi-5650C 시작하기 매뉴얼
<When leading out the AC cable from the
left side>
Do not lead out the AC cable as shown
below, since the cable cover may pinch and
damage the AC cable.
Use only the AC cable included the
scanner package.
ATTENTION
5.
Connect the AC cable to a power outlet.
2.2 Connecting the scanner to
your PC
When running Windows 95 and/or Windows
NT 4.0, connect the scanner to your PC with
the SCSI interface cable. When running Win-
dows 98, Windows Me, Windows 2000 and/or
Windows XP, connect the scanner to your PC
with either the USB or the SCSI interface
cable.
Do not connect both the USB interface
cable and the SCSI cable at the same
ATTENTION
time. It is not possible to use the USB
interface with Windows 95 and/or
WindowsNT 4.0.
Connecting the USB Cable
1.
Please connect a USB cable to the
Scanner.
Open the cable cover located below the
ADF paper chute and connect the USB
interface cable to the USB interface
connector.
Once the cable is connected, close the
cable cover.
2.
Please connect the other end of the
cable to your PC.
3.
Turn ON the scanner.
4.
Turn ON your PC.
Use the USB interface cable provided as
an accessory for the scanner. Operation
ATTENTION
with a commercially available USB cable
is not guaranteed. When connecting to a
USB hub, be sure to connect to the hub
nearest your computer (first stage). If
you connect it to a USB hub from the
second stage onwards the scanner may
not operate correctly.
2-3