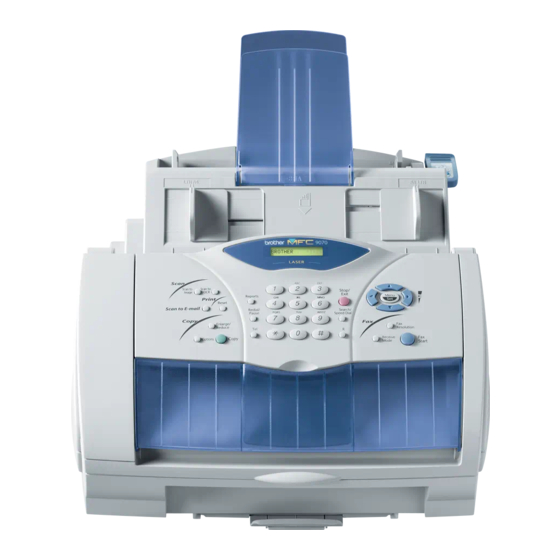
Brother MFC-9180 설정 매뉴얼
{카테고리_이름} Brother MFC-9180에 대한 설정 매뉴얼을 온라인으로 검색하거나 PDF를 다운로드하세요. Brother MFC-9180 5 페이지. Facsimile equipment
Brother MFC-9180에 대해서도 마찬가지입니다: 브로셔 및 사양 (4 페이지), 빠른 설정 매뉴얼 (4 페이지), 부품 참조 목록 (29 페이지)

For Windows
Setting Up the machine and PC to Work Together
Before You begin
•
When necessary, please purchase the appropriate interface cable you intend to use with this machine (parallel or USB).
•
Some illustrations are based on the MFC-9070.
Use only a shielded parallel interface cable that is IEEE 1284-compliant and/or a USB cable that is no longer than 6 feet long (1.8 meters).
You must set up the hardware and install the driver before you can use your machine as a printer and scanner
with your application. Brother offers both a Windows
on the CD-ROM. The Windows
steps below. The Brother Native driver offers some features that are not available with the Windows
Tested Driver. The features available on the Brother Native driver can vary by model. Please visit us at
http://solutions.brother.com
to the installation procedure for the Brother Native Driver.
Installation of Brother Drivers for Windows
Step 1.
Shut down and turn OFF your computer.
Step 2.
Unplug the MFC from the AC outlet and disconnect the interface cable if you have
already connected it.
Step 3.
Turn on your computer.
Note: If the "Found New Hardware Wizard" appears before the installation of the software, you should click on
Cancel to exit the Wizard, and then start the installation program from the CD-ROM.
Step 4.
Insert the CD-ROM labelled "For Windows
1.
Click your language. The CD-ROM
main menu will appear.
If the model name screen appears,
click on your model name.
The CD-ROM main menu will appear.
If the CD-ROM does NOT start
automatically, start the installer
application by clicking Start, Run,
then type x:\ setup.exe (where x:\ is
the drive letter of your CD-ROM
drive).
5.
When the PaperPort
®
8.0 SE Setup
window is displayed, click Next.
*1 MFC Software Suite includes Printer Driver, Scanner Driver, PC-FAX software and Remote Setup.
Windows
®
XP restricts scanning resolution to a max. of 600 dpi and Paper size to 8.5" (215.9 mm) x 11.7" (297 mm).
®
Logo Tested Driver is automatically installed when you follow the installation
for details on these features. You must follow steps 1 to 7 before you can proceed
2.
Click Install Software.
6.
After reading and accepting the License Agreement, enter your user information and
click Next.
®
XP Users
®
Logo Tested (WHQL) driver and a Brother Native Driver
®
XP
®
XP" into the CD-ROM drive.
3.
Click MFC Software Suite in Main
Application, and then click Install. *1
1
®
Logo
4.
Click Install.
7.
Select Typical and click Next.
