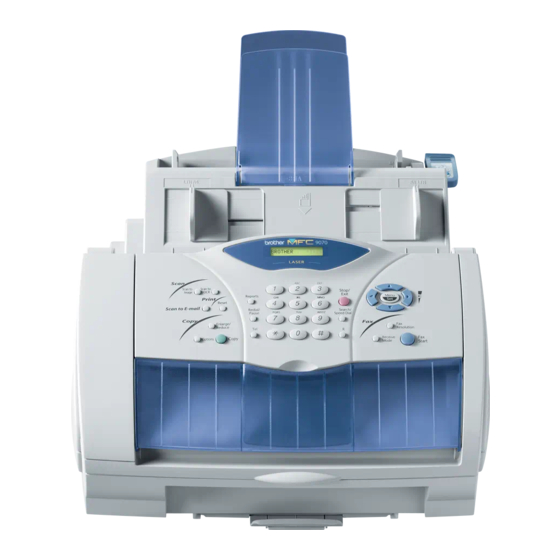
Brother MFC-9180 설정 매뉴얼 - 페이지 3
{카테고리_이름} Brother MFC-9180에 대한 설정 매뉴얼을 온라인으로 검색하거나 PDF를 다운로드하세요. Brother MFC-9180 5 페이지. Facsimile equipment
Brother MFC-9180에 대해서도 마찬가지입니다: 브로셔 및 사양 (4 페이지), 빠른 설정 매뉴얼 (4 페이지), 부품 참조 목록 (29 페이지)

Installation of Brother Native Drivers for Windows
Before You begin
•
Please complete steps 1 to 7 of the "Setting Up the machine and PC to Work Together" before you install the Brother Native Driver.
•
Make sure that the interface cable is connected between the machine and your PC and they are both powered ON.
Step 8.
Click "Start" and select "Printers and Faxes"
Step 9.
Click on "Add a printer" and the Add Printer Wizard will start.
1.
When the above screen appears,
click Next.
5.
Browse the CD-ROM and highlight
your language folder and click Open.
Highlight the "WXP" folder and click
Open. Highlight the "Addprt" folder
and click Open.
9.
If the above screen appears select
"Replace existing driver" and Next.
13.
When the above screen appears click
Finish.
2.
Un-check the "Automatically detect
and install the Plug and Play
printer" selection and then click
Next.
6.
Click Open.
10.
The model you are installing will be
listed in the window. Select Yes or No
if you want this driver to be your
default printer.
14.
If the Windows Logo testing screen
appears click Continue Anyway. This
completes the installation of the
Brother Native Driver.
3.
Select "BMFC (Brother MFL Port)"
from the pull down window for the
Printer Port Selection and then click
Next.
7.
Make sure "X:\xxx\WXP\Addprt" is
displayed in the window and click OK
(X:\ is the drive letter of your
CD-ROM).
11.
If the above screen appears select
"Do not share this printer" and
Next.
Note: There will be two Brother printer drivers listed
in the Printers and Faxes selection. The driver
without hyphen in the model name
(Ex. Brother MFC9070) is the Brother Native
Driver.
3
®
XP
4.
Click on Have Disk.
8.
Highlight the model you are installing
from the list of machines and click
Next.
12.
Select "Yes" and Next to print a test
page.
