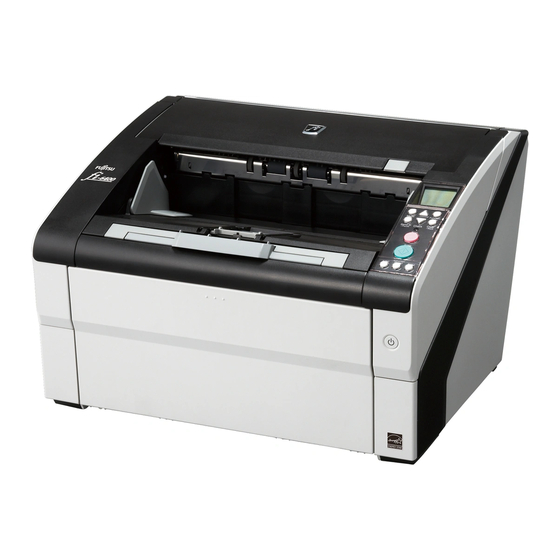
Fujitsu fi-6800 시작하기 매뉴얼 - 페이지 7
{카테고리_이름} Fujitsu fi-6800에 대한 시작하기 매뉴얼을 온라인으로 검색하거나 PDF를 다운로드하세요. Fujitsu fi-6800 9 페이지. Image scanner
Fujitsu fi-6800에 대해서도 마찬가지입니다: 사양 (2 페이지), 시작하기 매뉴얼 (8 페이지), 시작하기 매뉴얼 (8 페이지), 사양 (4 페이지), 소모품 교체 및 청소 지침 (26 페이지), 편리한 조작 (24 페이지), 시작하기 (6 페이지)

9.
Select the [Scan] menu
Scanner].
The [Select Scanner] dialog box appears.
10.
Select the scanner you want to use, and
then click the [Select] button.
Select the scanner model which is connected
to your computer.
The list of scanner models varies depending
on the scanner driver installed. If the connec-
tion is via SCSI/USB Connector 2, select
[Kofax VRS Scanner].
TWAIN
TWAIN
FUJITSU
fi-6800dj
If [Kofax VRS Scanner] does not
appear in the list, check if the inter-
face cable is properly connected to
SCSI/USB Connector 2.
If [Kofax VRS Scanner] does not
appear even after you have
connected the cable properly, refer to
"Chapter 8 Troubleshooting" in the
Operator's Guide.
When using Kofax VRS for the first
time, the [Register Kofax VRS]
screen appears. User registration is
required to obtain support informa-
tion from Kofax as well as to upgrade
the software, though Kofax VRS can
still be used without user registration.
To register later, select [Start] menu
[All Programs]
[Kofax VRS Administration Console],
and follow the on-screen instructions.
For details, refer to the Kofax VRS
Installation Guide (PDF) which is
included in the Setup DVD-ROM
(\VRS\HVRS\HVRS\Documentation).
11.
Click the [Scan] menu
The [Scan Settings] dialog box appears.
[Select
ISIS/VRS
ISIS
Kofax VRS
Fujitsu
Kofax VRS
fi-6800
Scanner
[Kofax VRS]
[Scan Settings].
12.
Clear the [Save to file] check box.
You only check the operation now, so
you do not have to save to file.
13.
Click the [Scanner Setting] button.
The scanner driver's setup dialog box
appears.
14.
Configure scanner settings such as the
resolution and paper size.
TWAIN/ISIS/Kofax VRS scanner drivers
Configure scan settings, and then click the
[OK] button.
For a TWAIN scanner driver, the
scanner driver setup dialog box may
be displayed again after the [OK]
button is clicked. If this occurs, click
the [Scan] button in the dialog box.
15.
In the [Scan Settings] dialog box, click the
[Scan] button.
The scanned document images are
displayed in the ScandAll PRO window.
Refer to "Chapter 8 Troubleshooting"
in the Operator's Guide, if you see
any unexpected characters on the
LCD.
For information about other scanning features,
refer to "Chapter 5 Various Ways to Scan" in the
Operator's Guide.
7
