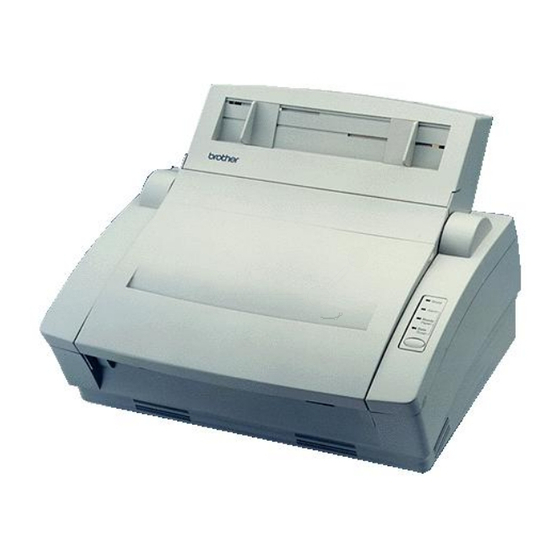
Brother HL-730PLUS 빠른 설정 매뉴얼 - 페이지 13
{카테고리_이름} Brother HL-730PLUS에 대한 빠른 설정 매뉴얼을 온라인으로 검색하거나 PDF를 다운로드하세요. Brother HL-730PLUS 17 페이지. Quick setup guide - english
Brother HL-730PLUS에 대해서도 마찬가지입니다: 운영 매뉴얼 (25 페이지)

English: HL-YL Quick Setup Guide, Body
Installing the Remote Printer Console
Before you install the program, make sure that you have the following hardware and
software:
DOS
Version 3.3 or later
Monitor
EGA/VGA or compatible
Option
Mouse; the mouse driver must be installed.
(You can also operate the program with the keyboard.)
Follow these steps to install the remote printer console program:
1. Make sure your printer is connected to your computer and is ready (On-line).
2. Start your computer. If you are in Windows, exit and return to the DOS prompt. You must
be in the DOS prompt to proceed with installation.
3. Insert the supplied disk into your floppy disk drive (A: or B:).
4. Select drive A or B to be used by typing
A: or B: after the DOS prompt and
pressing the Enter key.
5. Type RPCSETUP and press the Enter
key.
6. Follow the instructions on the screen.
Using the Remote Printer Console Main Program
Type C:\RPCX>RPCX and press the Enter
key to start the Remote Printer Console
main program.
The Main Screen will appear on your
computer screen as shown on the right.
The RPC gets the current settings information from your printer when it starts if bi-
directional communication is enabled between your computer and printer. Otherwise, RPC
shows its default settings. If you want to change settings, move the cursor to the desired item
and select the desired setting by using the Enter and Cursor keys. Then, press the Enter key to
make the selected setting valid. If you use a mouse, click the desired item to change the
setting.
C:\>A:
A:\>RPCSETUP
Remote Printer Console
Direct_Access
Printer_Setup
Current Status
Status
Paper feed
Emulation
Paper Size
Orientation
Quality
Copies
Memory size
[ /
] Select
[Alt+Character] Menu
[F1] Help
Console_Config
Guide
Ready
Sheet Feeder
Auto
Letter
Portrait
Normal
1
524288 Byte
[Enter] Setting
[ESC] Exit
12
