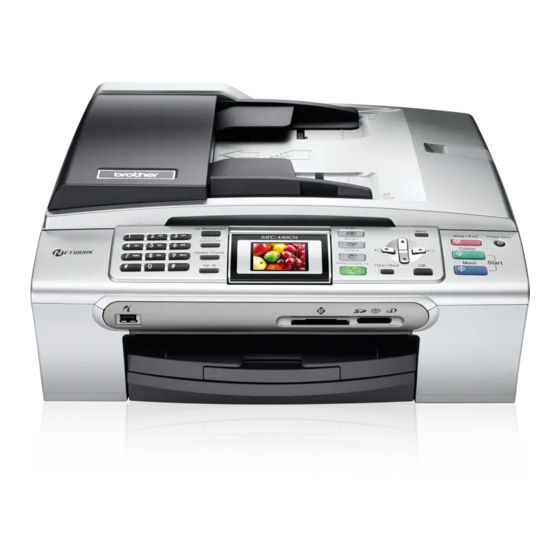
Brother MFC-440CN 빠른 설정 매뉴얼 - 페이지 15
{카테고리_이름} Brother MFC-440CN에 대한 빠른 설정 매뉴얼을 온라인으로 검색하거나 PDF를 다운로드하세요. Brother MFC-440CN 34 페이지. Quick setup guide - english
Brother MFC-440CN에 대해서도 마찬가지입니다: 서비스 매뉴얼 (5 페이지), 설정 매뉴얼 (23 페이지), 빠른 설정 매뉴얼 (35 페이지), 서비스 매뉴얼 (17 페이지)

14
Choosing a Receive Mode
(For MFC-660CN)
There are three possible receive modes: Fax Only,
Fax/Tel and Manual.
Are you using the built-in
TAD?
No
Do you want to use the telephone features of your
machine (if available) or an external telephone or
external telephone answering device connected on the
same line as the machine?
Yes
Are you using the voice message
function of an external telephone
answering device?
No
Do you want the machine to
answer fax and telephone calls
automatically?
No
Yes
Yes
1
Press Menu.
2
Press a or b to choose Initial Setup.
Press OK.
3
Press a or b to choose Receive Mode.
Press OK.
4
Press a or b to choose the mode.
Press OK.
See Digital TAD in
Chapter 9 of the
Yes
User's Guide.
No
Fax Only
Your machine
automatically answers
every call as a fax.
Manual
You control the phone
line and must answer
every call yourself.
Fax/Tel
Your machine controls
the line and
automatically answers
every call. If the call is
not a fax, the phone will
ring for you to pick up
the call.
Manual
Your external telephone
answering device (TAD)
automatically answers
every call. Voice
messages are stored
on the external TAD.
If you set Fax Detect
to On, the Fax
messages are printed.
Setting Up the Machine
5
Press Stop/Exit.
For details, see Using receive modes in
chapter 6 of the User's Guide.
15
Setting up the TAD
(MFC-660CN only)
You must record an outgoing message in order to use
the TAD mode.
1
Record the TAD outgoing message (TAD
Message).
See Outgoing message (OGM) in Chapter 9
of the User's Guide.
2
Activate TAD mode.
Press
. The button will light when the mode
is active.
If the TAD Mode is on, it overrides your
Receive Mode setting. The built-in digital
TAD answers voice calls. If the call is a fax,
you can receive a fax automatically.
For details, see Digital TAD in Chapter 9 of
the User's Guide.
Now go to
Go to Supplied CD-ROM 'MFL-Pro Suite' on
the next page to install the drivers.
13
