Fujitsu SK-96320-80PMC 사용자 설명서 - 페이지 25
{카테고리_이름} Fujitsu SK-96320-80PMC에 대한 사용자 설명서을 온라인으로 검색하거나 PDF를 다운로드하세요. Fujitsu SK-96320-80PMC 34 페이지.
Fujitsu SK-96320-80PMC에 대해서도 마찬가지입니다: 사용자 설명서 (34 페이지), 사용자 설명서 (34 페이지)

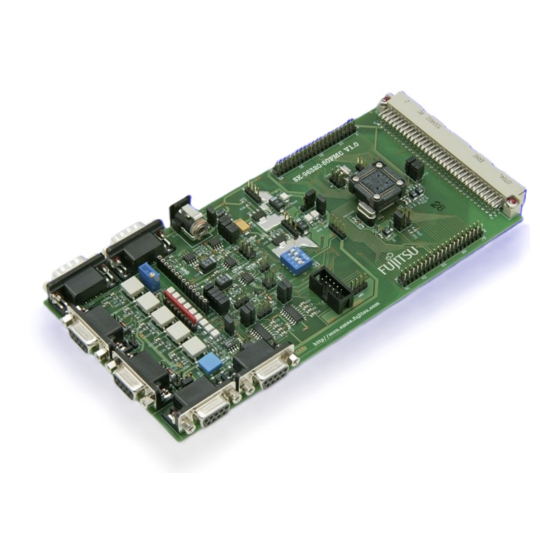
5 Connectors
5.1 Power connector (X12)
The following figure shows the power connection jack X12. This connector is used to
connect an external unregulated DC power supply voltage (9V-12V DC) to the evaluation
board.
Connector X12:
It is recommended to use 9V DC input to minimize the power dissipation of the voltage
regulators.
5.2 Edge connector (X1, X2)
All pins (except oscillator Pins) of the microcontroller are directly connected to X1 and X2 as
follows:
Connector
X1 (1 – 40)
X2 (41 – 80)
The odd pin numbers are located on the one side and the even pin numbers are located on
the other side of the connector.
5.3 UART"A", UART"B" connector (X3, X5)
Two 9-pin D-Sub female connectors are used
for the serial interface UART"A" and UART"B".
TXD is the transmit output, RXD is the receive input.
The DTR or RTS signal can be used to generate a reset.
Please use a 1:1 cable for PC-connection.
© Fujitsu Microelectronics Europe GmbH
SK-96320-80PMC User Guide
Chapter 5 Connectors
Shield is connected to positive voltage supply
Center is connected to ground (GND)
MCU Pins
1 – 40
41 – 80
Connectors X3, X5:
- 25 -
GND DTR RxD TxD
5
9
CTS RTS DSR
FMEMCU-UG-960010-12
1
6
