AEG 8290 D 운영 및 설치 매뉴얼 - 페이지 12
{카테고리_이름} AEG 8290 D에 대한 운영 및 설치 매뉴얼을 온라인으로 검색하거나 PDF를 다운로드하세요. AEG 8290 D 16 페이지. Cooker hood
AEG 8290 D에 대해서도 마찬가지입니다: 작동 및 설치 지침 (20 페이지)
Mounting the cooker hood - Fig. 7
Position the template on the wall and mark the position, and drill the holes (2
x Ø 8 mm).Mount the two rawl plugs with the hooks (3)
Hang the hood on the hooks and level it with the adjustment screws (4)
Remove the grease filters (5) and mark for the two screws (6). Remove the hood
and drill the holes (2 x Ø 8 mm).
Insert the rawl plugs (7) and hang the hood on the wall again. Adjust it
horizontally with the screws (8) and secure it with the screws (9)
Mount the chimney holder (10) with the rawl plugs (12) and the screws (11).
Be careful that it is centered over the hood and horizontally aligned.
Fitting for ducting (S)
Connect a tube between the hood air outlet and the wall or roof exhaust
channel. Fix it with the tube clamps supplied.
Fitting for recirculation (K)
Mount the recirculation spigot with the two screws supplied.
Mounting the chimney
Place the chimney (15) and fix it to the top chimney holder with the two
screws (16) supplied. Lower the bottom part of the chimney (17) and fasten
it to the top of the hood with two screws, supplied.
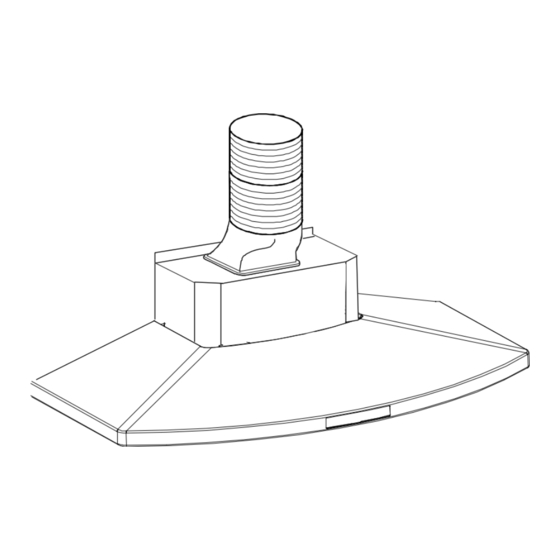
Note that the top part of the chimney can be mounted with the side grids up
or down. For use as a recirculation hood it must be mounted with the grids
upwards. (Fig. 6).
Fig. 6
12