a-TroniX Jump starter Booster 12V 4000A 사용 설명서 - 페이지 9
{카테고리_이름} a-TroniX Jump starter Booster 12V 4000A에 대한 사용 설명서을 온라인으로 검색하거나 PDF를 다운로드하세요. a-TroniX Jump starter Booster 12V 4000A 15 페이지.
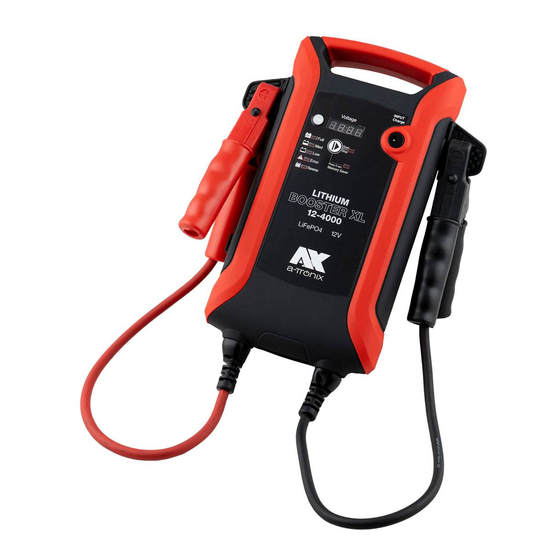
Instruction Manual
Jump starter Booster 12V 4000A
4. Internal auxiliary battery 9V
of the jump starter
The jump starter is equipped with a 9V auxiliary battery, which is essential to power the
■
control processor.
When the „Err 5" alarm turns on, replace the battery.
■
To replace, open the flap on the back of the device housing, remove the battery,
■
disconnect the poles and insert a new battery.
Close the flap again.
■
5. How to charge the jump starter
CAUTION:
Charge the emergency starter for at least 8 hours immediately after purchase
and each time you use it. When the emergency starter is not in use, charge it for
8 hours at least every 6 months to keep the internal battery in good condition.
Charge the emergency starter with the 230VAC charger:
Make sure that no device is connected to the emergency starter. Use the TEST
button to check the charge level on the voltmeter (red = battery at 30% –
yellow = battery at 60% – green = battery at 100%).
NOTES:
If the voltmeter display is not green, charge the emergency starter's battery.
Plug the charger into the socket of the 230 V household network.
■
Insert the charger plug into the charging socket on the front of the „Input
■
Charge" starting help.
After the charging process is complete, do not leave the jump starter
■
connected to the battery charger for a long time.
Do not use the device while it is charging.
■
CAUTION:
Use only the charger supplied.
09/2021
Page 9