Deye SUN-8K-SG01LP1-US/EU 사용자 설명서 - 페이지 3
{카테고리_이름} Deye SUN-8K-SG01LP1-US/EU에 대한 사용자 설명서을 온라인으로 검색하거나 PDF를 다운로드하세요. Deye SUN-8K-SG01LP1-US/EU 20 페이지. Hybrid inverter

1. Safety Introductions
・This chapter contains important safety and operating instructions. Read and keep this
manual for future reference.
・Before using the inverter, please read the instructions and warning signs of the battery
and corresponding sections in the instruction manual.
・Do not disassemble the inverter. If you need maintenance or repair, take it to a
professional service center.
・Improper reassembly may result in electric shock or fire.
・To reduce risk of electric shock, disconnect all wires before attempting any
maintenance or cleaning. Turning off the unit will not reduce this risk.
・Caution: Only qualified personnel can install this device with battery.
・Never charge a frozen battery.
・For optimum operation of this inverter, please follow required specification to select
appropriate cable size.It is very important to correctly operate this inverter.
・Be very cautious when working with metal tools on or around batteries. Dropping a
tool may cause a spark or short circuit in batteries or other electrical parts,even cause
an explosion.
・Please strictly follow installation procedure when you want to disconnect AC or DC
terminals. Please refer to "Installation" section of this manual for the details.
・Grounding instructions - this inverter should be connected to a permanent grounded
wiring system. Be sure to comply with local requirements and regulation to install this
inverter.
・Never cause AC output and DC input short circuited. Do not connect to the mains
when DC input short circuits.
2. Product Introduction
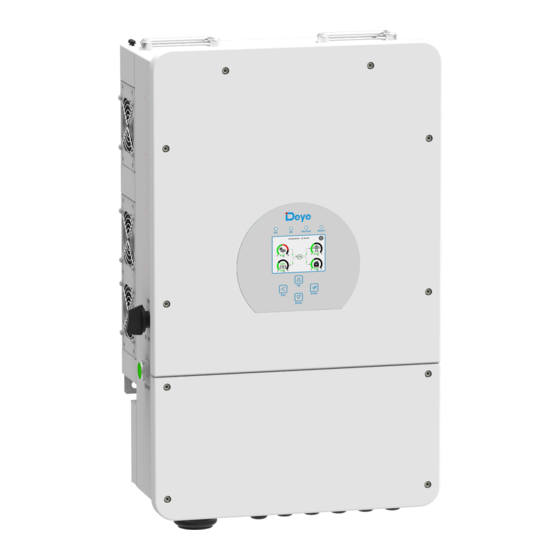
This is a multifunctional inverter,combining functions of inverter, solar charger and
battery charger to offer uninterruptible power support with portable size. Its
comprehensive LCD display offers user configurable and easy accessible button operation
such as battery charging ,AC/solar charging, and acceptable input voltage based on
different applications.
- 01 -
2.1 Product Overview
1: Inverter Indicators
7: CAN Port
2: LCD display
8: Battery input connectors
3: Function Buttons
9: Function Port
4: DC Switch
10: Parallel Box(master)
5: Power on/off button
11: Parallel port
6: RS 485 Port
12: PV input with two MPPT
13: Grid
14: Generator input
15: Load
16: WiFi Interface
- 02 -
