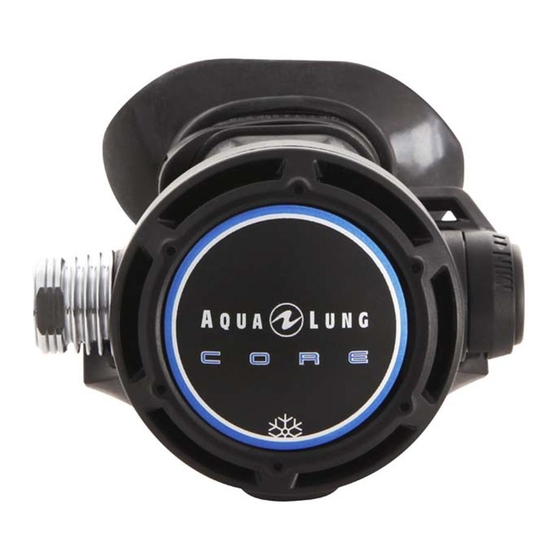
Aqua Lung CORE 서비스 매뉴얼 - 페이지 6
{카테고리_이름} Aqua Lung CORE에 대한 서비스 매뉴얼을 온라인으로 검색하거나 PDF를 다운로드하세요. Aqua Lung CORE 18 페이지.

- 1. Table of Contents
- 2. Copyright
- 3. Introduction
- 4. Warnings, Attention, Notes
- 5. Maintenance
- 6. General Instructions
- 7. General Conventions
- 8. Disassembly Procedure
- 9. Reassembly Procedure
- 10. Controle Final
- 11. Final Reassembly
- 12. Appendix
- 13. Procedure a - Cleaning and Lubricating
- 14. Maintenance Notes
DISASSEMBLY PROCEDURE
NOTE:
Before
consult the exploded view to check the reference
numbers of all parts requiring replacement.
These parts should all be replaced by new parts
and should not be re-used on the pretext that the
regulator
has
manufacture or since its last service.
ATTENTION: Use only the special tool (506001)
when removing O-rings in order to avoid damaging
the seal recess. The slightest scratch on a sealing
surface could cause a leak. If a surface should be
damaged then this part should be replaced with a
new one. Do not use any pointed instrument or
metal tool to remove O-rings.
1.
Using two 11/16'' keys, block
the insert screw (127818) for
standard version or the heat
exchanger
(129914)
supreme version and octopus
and unscrew the end nut on
the hose (124567).
2.
If the regulator is a supreme
version, remove the lip
shield (125613). Remove
the
mouthpiece
(129154)
and
then
mouthpiece
(123697
standard
and
supreme
versions,
123698
octopus).
3.
Unscrew the front cover holder
(129913) using a lug spanner
(129198).
Remove the front
cover
(129912,
129917
129918).
4.
Using the tool (129001), unscrew the diaphragm retainer
(129195). Remove the washer (129133) and the second
stage diaphragm (129150).
nd
Service Manual Core 2
Rev. 05/2015
commencing
disassembly,
seen
little
use
since
for
strap
the
for
for
or
stage
Using an 11/16'' key, unscrew the insert screw (127818)
5.
for standard version or the heat exchanger (129914) for
supreme version and octopus.
its
6.
While holding the lever (129178) down against the valve
spindle (129146), push the valve spindle assembly
outside the case (129931 or 129932).
If the Venturi plug (129911) has not fell down itself,
remove it.
Remove O-ring (124706), hose side.
7.
Remove the Venturi lever (129909) from the case
(129931 or 129932).
Remove the Venturi lever O-ring (AP1438). This O-ring
could have stayed in the case, during the Venturi lever
removing.
8.
Using a 4 mm Allen key, lightly
screw
(129162), and then remove the
tension pin (AP1151).
9.
Using a 4 mm Allen key, unscrew and
remove the adjusting screw (129162).
With the tool (506001), remove the O-
ring (124703) from the adjusting
screw.
Service Manual Core 2
the
adjusting
screw
nd
stage
6
