DFE STEADYWEB 6 빠른 시작 매뉴얼 - 페이지 4
{카테고리_이름} DFE STEADYWEB 6에 대한 빠른 시작 매뉴얼을 온라인으로 검색하거나 PDF를 다운로드하세요. DFE STEADYWEB 6 12 페이지. Tension controller
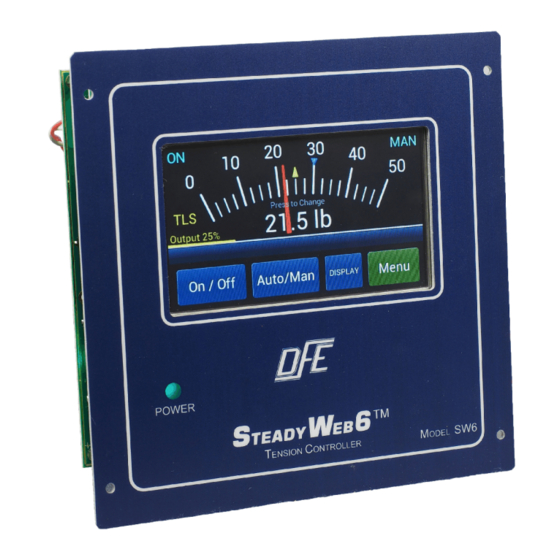
DFE STEADYWEB 6에 대해서도 마찬가지입니다: 사용 설명서 (20 페이지)
enclosure is fastened to the mounting surface you have chosen by
two M4 (#8) screws. Install the screws on the mounting surface.
Leave the screws loose about 6 turns. Position the keyholes in the
back panel of the enclosure over the screws and slide it down until
it locks in place. The cover must be open to tighten the mounting
screws and secure the enclosure in place.
Version P Only
The pneumatic enclosure should be located in the area of your
clutch or brake. Drill and tap four M3 (#4) holes in a rectangle. The
enclosure is fastened to the mounting surface you have chosen by
four M3 (#4) screws. The pneumatic servo is sensitive to any
mounting off it's vertical axis. Mounting off vertical axis can cause
error in output pressure.
Version V Only
The High Voltage Output module, required for 45 VDC and 90
VDC only, should be located in the area of your clutch or brake. If
you are using the DIN Rail Clip (DRC) option, the V-Out module
may simply be clipped to a DIN rail. If you are using the Enclosure
mount style without the DRC option, drill and tap two M4 (#8)
holes to match the screw hole dimensions on the back surface of
the V-Out enclosure. The enclosure is fastened to the mounting
surface you have chosen by two M4 (#8) screws. Install the
screws on the mounting surface. Leave the screws loose about 6
turns. Position the keyholes in the back panel of the enclosure
over the screws and slide it down until it locks in place. The cover
must be open to tighten the mounting screws and secure the
enclosure in place. This module is not sensitive to mounting at any
angle.
2