BilJax Multi-Stage AS-2100 조립 지침 매뉴얼 - 페이지 4
{카테고리_이름} BilJax Multi-Stage AS-2100에 대한 조립 지침 매뉴얼을 온라인으로 검색하거나 PDF를 다운로드하세요. BilJax Multi-Stage AS-2100 8 페이지. Deck surface
BilJax Multi-Stage AS-2100에 대해서도 마찬가지입니다: 교체 방법 (9 페이지)
Step 4
Continued
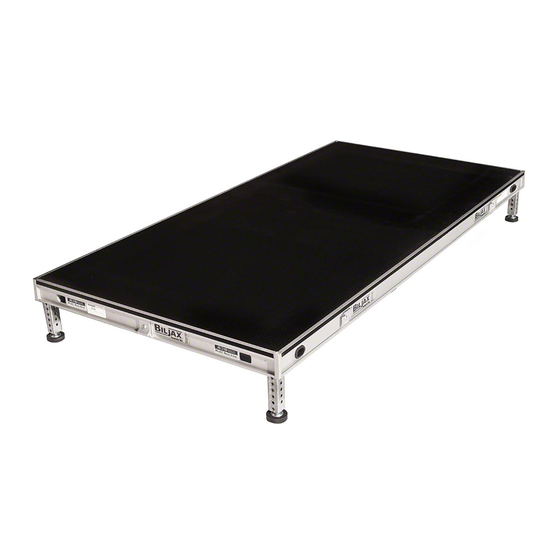
D. Install Leg Brackets, as necessary. Leg brackets
(shown at right) should be installed into empty leg
sockets along the perimeter to prevent stage
sections from sliding. Leg brackets are installed in
the same way as stage legs, as shown in Step 3.
Step 5
The modular design of the AS-2100 allows stage rows to
be staggered. When staggering rows of stage sections,
install 4 legs into the first stage section of each staggered
.
row, as shown
Step 6
After completing the back row of stage sections, begin the second row by attaching one section with two legs.
Step 7
To continue the second row, completely
insert one leg into corner socket of one
stage section and attach to adjacent
sections as shown.
Additional sections in each row are
assembled and attached in a like manner.
Repeat Steps 6-7 for each additional row.
4