BilJax Multi-Stage AS-2100 조립 지침 매뉴얼 - 페이지 3
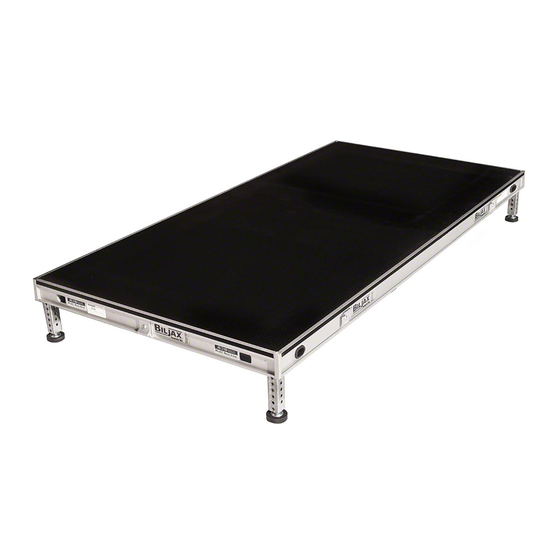
{카테고리_이름} BilJax Multi-Stage AS-2100에 대한 조립 지침 매뉴얼을 온라인으로 검색하거나 PDF를 다운로드하세요. BilJax Multi-Stage AS-2100 8 페이지. Deck surface
BilJax Multi-Stage AS-2100에 대해서도 마찬가지입니다: 교체 방법 (9 페이지)
Step 3
Setting the Stage, Continued
A. Set first stage section in back left-hand corner of stage site.
Any corner may be used as a starting point when using 4' x
4' decks exclusively.
B. Align the stage section so that the connecting brackets
facing up are inside the starting area and the connecting
brackets facing down are outside, as shown in the diagram.
As additional stage sections are added, always make sure
that the up-facing connecting brackets face toward the stage
site. Build stage in the direction(s) indicated by the arrows in
the diagrams below and at right.
NOTE: When using 4' x 8' stage sections,
adjust the starting point to achieve desired
stage position and shape. Up-facing
connecting brackets should always face
toward the stage site.
Step 4
A. Set the back row of stage sections first.
B. Insert two legs into each additional stage section,
as shown, and attach to previous section by
inserting the connecting brackets into the C-
Channel of the adjacent stage section.
C. Additional stage sections should be attached so
that connecting brackets facing up are inside the
starting area.
3