BilJax Multi-Stage AS-2100 Інструкція з монтажу Посібник з монтажу - Сторінка 3
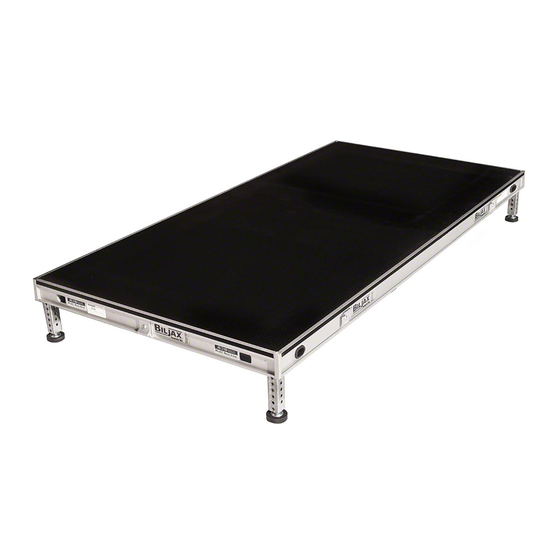
Переглянути онлайн або завантажити pdf Інструкція з монтажу Посібник з монтажу для Меблі для вулиці BilJax Multi-Stage AS-2100. BilJax Multi-Stage AS-2100 8 сторінок. Deck surface
Також для BilJax Multi-Stage AS-2100: Як замінити (9 сторінок)
Step 3
Setting the Stage, Continued
A. Set first stage section in back left-hand corner of stage site.
Any corner may be used as a starting point when using 4' x
4' decks exclusively.
B. Align the stage section so that the connecting brackets
facing up are inside the starting area and the connecting
brackets facing down are outside, as shown in the diagram.
As additional stage sections are added, always make sure
that the up-facing connecting brackets face toward the stage
site. Build stage in the direction(s) indicated by the arrows in
the diagrams below and at right.
NOTE: When using 4' x 8' stage sections,
adjust the starting point to achieve desired
stage position and shape. Up-facing
connecting brackets should always face
toward the stage site.
Step 4
A. Set the back row of stage sections first.
B. Insert two legs into each additional stage section,
as shown, and attach to previous section by
inserting the connecting brackets into the C-
Channel of the adjacent stage section.
C. Additional stage sections should be attached so
that connecting brackets facing up are inside the
starting area.
3