Dell Inspiron 600m 서비스 매뉴얼 - 페이지 29

{카테고리_이름} Dell Inspiron 600m에 대한 서비스 매뉴얼을 온라인으로 검색하거나 PDF를 다운로드하세요. Dell Inspiron 600m 40 페이지. Hard drive
Dell Inspiron 600m에 대해서도 마찬가지입니다: 여기에서 시작 (2 페이지), 여기에서 시작 (2 페이지), 여기에서 시작 (2 페이지), 시작하기 매뉴얼 (2 페이지), 사용자 설명서 (34 페이지), 설정 매뉴얼 (2 페이지), 시작하기 (2 페이지), 설정 매뉴얼 (2 페이지), 설정 매뉴얼 (2 페이지), 설정 매뉴얼 (2 페이지), 설정 매뉴얼 (2 페이지), 설정 매뉴얼 (2 페이지), 설정 매뉴얼 (2 페이지), 설정 매뉴얼 (2 페이지), 서비스 매뉴얼 (41 페이지), 미디어 베이스 사용 설명서 (26 페이지), 서비스 매뉴얼 (41 페이지), 설치 및 구성 (38 페이지), 빠른 시작 (2 페이지), 빠른 시작 (2 페이지), 빠른 시작 (2 페이지), 컴퓨터 설정 (2 페이지), 서비스 매뉴얼 (41 페이지), 서비스 매뉴얼 (4 페이지)
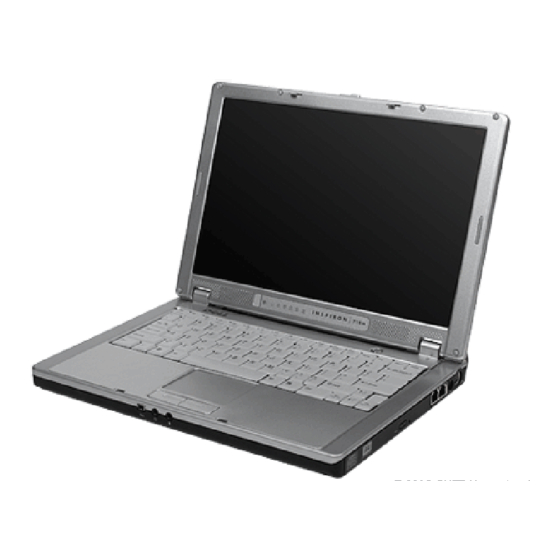
Dell Inspiron 600m 서비스 매뉴얼
screw
 
11. Remove the two 5 mm hex nuts on either side of the video connector located on the left side of the computer.
 
12. Disconnect the coin-cell battery connector and the modem cable connector from the main board.
 
13. If replacing the system board, remove the
 
14. Remove the M2 x 5-mm screw that secures the system board to the bottom case.
 
15. Lift the system board up, from the right side, and out of the bottom case.
 Replacing the System Board
 
1. Place the system board in the bottom case.
NOTE:
Route cables so that they will not be crimped or pinched when the complete assembly is put back together.
 
2. Reconnect all the cables to the system board ZIF connectors.
 
3. Reinstall the M2 x 5-mm screw that secures the system board to the bottom case.
NOTE:
After replacing the system board, enter the computer Service Tag into the BIOS of the replacement system board.
Back to Contents Page
 
memory
from the old system board and install the
memory
on the new system board.