- ページ 29

ノートパソコン Dell Inspiron 600mのPDF サービスマニュアルをオンラインで閲覧またはダウンロードできます。Dell Inspiron 600m 40 ページ。 Hard drive
Dell Inspiron 600m にも: ここからスタート (2 ページ), ここからスタート (2 ページ), ここからスタート (2 ページ), スタートマニュアル (2 ページ), ユーザーマニュアル (34 ページ), セットアップマニュアル (2 ページ), はじめに (2 ページ), セットアップマニュアル (2 ページ), セットアップマニュアル (2 ページ), セットアップマニュアル (2 ページ), セットアップマニュアル (2 ページ), セットアップマニュアル (2 ページ), セットアップマニュアル (2 ページ), セットアップマニュアル (2 ページ), サービスマニュアル (41 ページ), メディアベース取扱説明書 (26 ページ), サービスマニュアル (41 ページ), インストールと設定 (38 ページ), クイックスタート (2 ページ), クイックスタート (2 ページ), クイックスタート (2 ページ), コンピュータのセットアップ (2 ページ), サービスマニュアル (41 ページ), サービスマニュアル (4 ページ)
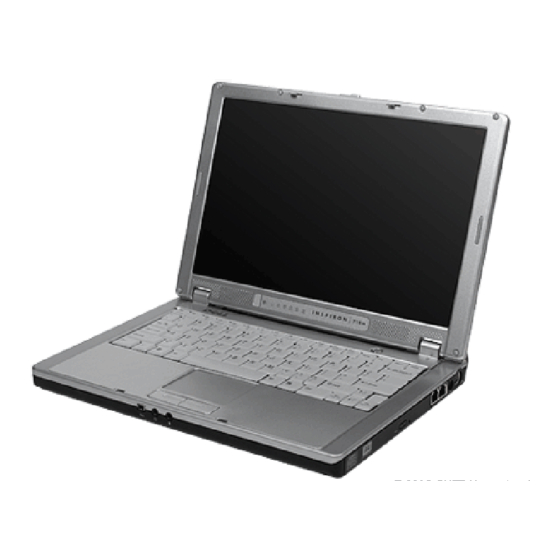
Dell Inspiron 600m サービスマニュアル
screw
 
11. Remove the two 5 mm hex nuts on either side of the video connector located on the left side of the computer.
 
12. Disconnect the coin-cell battery connector and the modem cable connector from the main board.
 
13. If replacing the system board, remove the
 
14. Remove the M2 x 5-mm screw that secures the system board to the bottom case.
 
15. Lift the system board up, from the right side, and out of the bottom case.
 Replacing the System Board
 
1. Place the system board in the bottom case.
NOTE:
Route cables so that they will not be crimped or pinched when the complete assembly is put back together.
 
2. Reconnect all the cables to the system board ZIF connectors.
 
3. Reinstall the M2 x 5-mm screw that secures the system board to the bottom case.
NOTE:
After replacing the system board, enter the computer Service Tag into the BIOS of the replacement system board.
Back to Contents Page
 
memory
from the old system board and install the
memory
on the new system board.