Dell Inspiron 600m 서비스 매뉴얼 - 페이지 40

{카테고리_이름} Dell Inspiron 600m에 대한 서비스 매뉴얼을 온라인으로 검색하거나 PDF를 다운로드하세요. Dell Inspiron 600m 41 페이지. Hard drive
Dell Inspiron 600m에 대해서도 마찬가지입니다: 여기에서 시작 (2 페이지), 여기에서 시작 (2 페이지), 여기에서 시작 (2 페이지), 시작하기 매뉴얼 (2 페이지), 사용자 설명서 (34 페이지), 설정 매뉴얼 (2 페이지), 시작하기 (2 페이지), 설정 매뉴얼 (2 페이지), 설정 매뉴얼 (2 페이지), 설정 매뉴얼 (2 페이지), 설정 매뉴얼 (2 페이지), 설정 매뉴얼 (2 페이지), 설정 매뉴얼 (2 페이지), 설정 매뉴얼 (2 페이지), 서비스 매뉴얼 (41 페이지), 미디어 베이스 사용 설명서 (26 페이지), 서비스 매뉴얼 (40 페이지), 설치 및 구성 (38 페이지), 빠른 시작 (2 페이지), 빠른 시작 (2 페이지), 빠른 시작 (2 페이지), 컴퓨터 설정 (2 페이지), 서비스 매뉴얼 (41 페이지), 서비스 매뉴얼 (4 페이지)
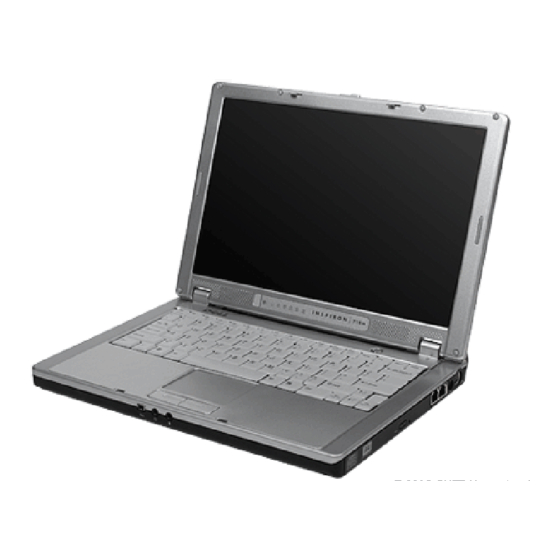
Dell Inspiron 600m 서비스 매뉴얼
7.  Lower the Mini PCI card toward the inner tabs to approximately a 20-degree angle.
8.  Continue lowering the Mini PCI card until it snaps into the inner tabs of the connector.
9.  Replace the cover.
Devices
 Your computer ships with an optical drive installed in the module bay. However, the device security screw is not installed in the optical drive but packaged
separately. When you install your device in the module bay, you can install the device security screw.
 
NOTICE:
Insert devices into the module bay before you dock and turn on the computer.
 
NOTE:
You do not need to install the device security screw unless you want to secure the module inside the computer for security purposes.
If the Device Security Screw Is Not Installed
 
NOTICE:
To prevent damage to devices, place them in a safe, dry place when they are not installed in the computer. Avoid pressing down on them or
placing heavy objects on top of them.
1.  Press the device latch release so that the latch release pops out.
 
 
1
device latch release
2.  Pull the device by the latch release to remove the device from the module bay.
 
If the Device Security Screw Is Installed
1.  If the computer is connected to a docking device (docked), undock it. See the documentation that came with your docking device for instructions.