- ページ 40

ノートパソコン Dell Inspiron 600mのPDF サービスマニュアルをオンラインで閲覧またはダウンロードできます。Dell Inspiron 600m 41 ページ。 Hard drive
Dell Inspiron 600m にも: ここからスタート (2 ページ), ここからスタート (2 ページ), ここからスタート (2 ページ), スタートマニュアル (2 ページ), ユーザーマニュアル (34 ページ), セットアップマニュアル (2 ページ), はじめに (2 ページ), セットアップマニュアル (2 ページ), セットアップマニュアル (2 ページ), セットアップマニュアル (2 ページ), セットアップマニュアル (2 ページ), セットアップマニュアル (2 ページ), セットアップマニュアル (2 ページ), セットアップマニュアル (2 ページ), サービスマニュアル (41 ページ), メディアベース取扱説明書 (26 ページ), サービスマニュアル (40 ページ), インストールと設定 (38 ページ), クイックスタート (2 ページ), クイックスタート (2 ページ), クイックスタート (2 ページ), コンピュータのセットアップ (2 ページ), サービスマニュアル (41 ページ), サービスマニュアル (4 ページ)
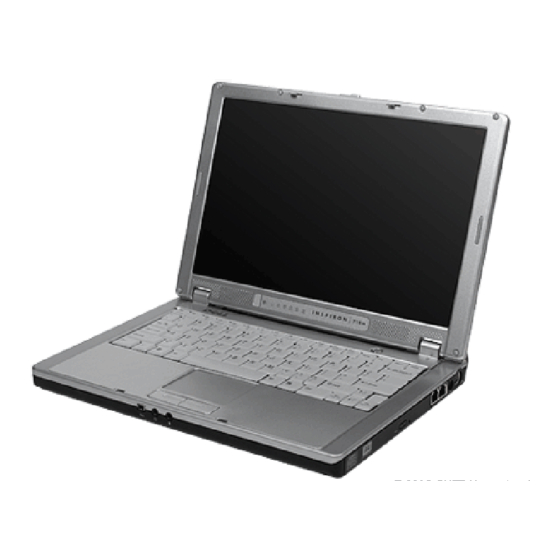
Dell Inspiron 600m サービスマニュアル
7.  Lower the Mini PCI card toward the inner tabs to approximately a 20-degree angle.
8.  Continue lowering the Mini PCI card until it snaps into the inner tabs of the connector.
9.  Replace the cover.
Devices
 Your computer ships with an optical drive installed in the module bay. However, the device security screw is not installed in the optical drive but packaged
separately. When you install your device in the module bay, you can install the device security screw.
 
NOTICE:
Insert devices into the module bay before you dock and turn on the computer.
 
NOTE:
You do not need to install the device security screw unless you want to secure the module inside the computer for security purposes.
If the Device Security Screw Is Not Installed
 
NOTICE:
To prevent damage to devices, place them in a safe, dry place when they are not installed in the computer. Avoid pressing down on them or
placing heavy objects on top of them.
1.  Press the device latch release so that the latch release pops out.
 
 
1
device latch release
2.  Pull the device by the latch release to remove the device from the module bay.
 
If the Device Security Screw Is Installed
1.  If the computer is connected to a docking device (docked), undock it. See the documentation that came with your docking device for instructions.