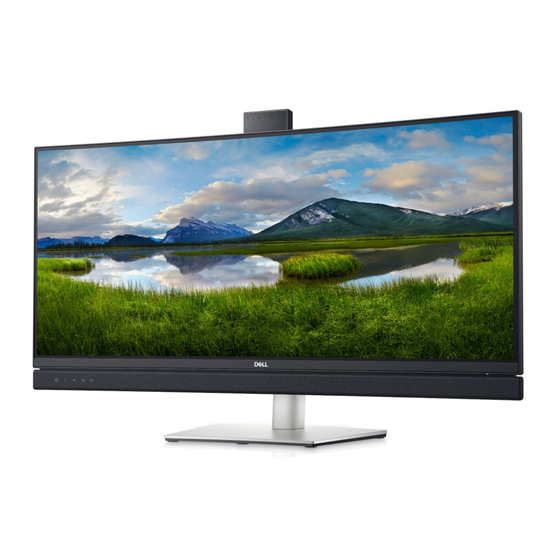
Dell C3422WE 매뉴얼 - 페이지 10
{카테고리_이름} Dell C3422WE에 대한 매뉴얼을 온라인으로 검색하거나 PDF를 다운로드하세요. Dell C3422WE 21 페이지. Curved display manager
Dell C3422WE에 대해서도 마찬가지입니다: 매뉴얼 (6 페이지), 사용자 설명서 (20 페이지)

Use a Philips-head screwdriver to tighten 3pcs
screws for locking the rear cover with front cover,
then tear off the tape paper on the back of the
S13
connective cable, and fix the cable with tape. Paste
1pcs camera glass on the back of the rear cover by
tearing the gum of the tape.
(No.1~3 screw size=M3x5, Torque=3
3
4. Disassembly and Assembly Procedures
0.5kgfxcm)
±
2
1
Locate the assembled camera unit into the pins of
middle bezel, then use a Philips-head screwdriver to
tighten 4pcs screws
S14
with the middle bezel
the connective cable and fix the cable with it.
(No.1~4 Screw size= M3x4, Torque=3.5±0.5kgfxcm)
1
4
Take a pair of speakers to locate the probers of the
middle bezel, then locate the speakers' cable to the
hooks of the middle bezel. Use a Philips-head
S15
screwdriver to tighten 4pcs screws for locking the
speakers with middle bezel.
(No.1~4 screw size=M3x6, Torque=4±0.5 kgfxcm)
1
Move the bracket close to the panel module, then
connect EDP cable to the connector of the panel
S16
module, then fix the EDP cable with 1pcs acetate
tape. Put down the bracket chassis module on the
back of panel module.
for locking the camera module
. Tearing off the gum paper of
3
2
3
4
2
