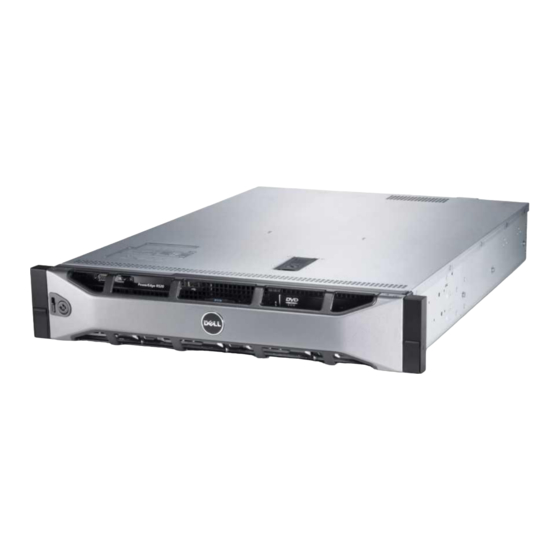
Dell PowerEdge R520 설치 매뉴얼 - 페이지 6
{카테고리_이름} Dell PowerEdge R520에 대한 설치 매뉴얼을 온라인으로 검색하거나 PDF를 다운로드하세요. Dell PowerEdge R520 8 페이지. 2-socket, 2u rack server
Dell PowerEdge R520에 대해서도 마찬가지입니다: 매뉴얼 (11 페이지), 시작하기 매뉴얼 (9 페이지), 포트폴리오 매뉴얼 (27 페이지), 기술 매뉴얼 (50 페이지)

Installing the Second Processor
CAUTION:
Only trained service technicians are authorized to remove the system
cover and access any of the components inside the system. Before you begin this
procedure, review the safety instructions that came with the system.
1 Ensure that you have followed the steps mentioned in "Before You Begin"
on page 3.
2 Unpack the new processor.
CAUTION:
Positioning the processor incorrectly can permanently damage the
system board or the processor. Be careful not to bend the pins in the socket.
CAUTION:
Do not use force to seat the processor. When the processor is
positioned correctly, it engages easily into the socket.
3 Align the notches in the processor with the socket keys on the ZIF socket
and set the processor lightly in the ZIF socket. See Figure 1-1.
4 Close the processor shield.
5 Using a clean lint-free cloth, remove the thermal grease from the heat sink.
CAUTION:
Applying too much thermal grease can result in excess grease coming
in contact with and contaminating the processor socket.
6 Open the grease applicator included with your processor kit and apply all
of the thermal grease in the applicator to the center of the topside of the
new processor.
7 Place the heat sink on the processor.
8 Tighten the heat-sink retention sockets. See Figure 1-2.
6
Additonal Processor Installation
