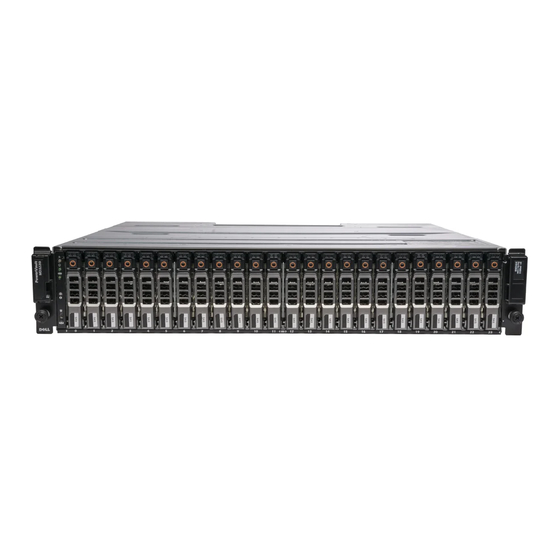
Dell PowerVault MD3220i Series 배포 매뉴얼 - 페이지 26
{카테고리_이름} Dell PowerVault MD3220i Series에 대한 배포 매뉴얼을 온라인으로 검색하거나 PDF를 다운로드하세요. Dell PowerVault MD3220i Series 41 페이지. Storage arrays
Dell PowerVault MD3220i Series에 대해서도 마찬가지입니다: 업데이트 매뉴얼 (32 페이지), 랙 설치 지침 (2 페이지), 설치 매뉴얼 (18 페이지), 정보 업데이트 (1 페이지), 기술 매뉴얼북 (38 페이지), 매뉴얼 (16 페이지)

Dell PowerVault MD32xxi Configuration Guide for VMware ESX4.1 Server Software
In this example we see that iSCSI1 is vmk0, iSCSI2 is vmk1, and iSCSI3 is vmk2. This is also information that
we need to note.
We can also see this in the CLI by using the following command:
esxcfg-vmknic –l
The output will look similar to this:
Interface Port Group/DVPort IP Family IP Address
Netmask Broadcast MAC Address MTU TSO MSS
Enabled Type
vmk0 iSCSI1 IPv4 10.10.5.173
255.255.255.0 10.10.5.255 00:50:56:7b:d8:3e 9000 65535 true
STATIC
vmk1 iSCSI2 IPv4 10.10.5.174
255.255.255.0 10.10.5.255 00:50:56:7e:ae:80 9000 65535 true
STATIC
vmk2 iSCSI3 IPv4 10.10.5.175
255.255.255.0 10.10.5.255 00:50:56:74:a4:e0 9000 65535 true
STATIC
We can determine this same information from the GUI.
Now that we know the vmhba# and the vmk# we can map each VMkernel Port to the iSCSI Software
Initiator. This is done through the CLI by typing the following command:
esxcli swiscsi nic add –n vmk0 –d vmhba33
This will bind the vmk0 VMkernel port to the iSCSI Software Adapter vmhba33. We then proceed to bind
all of the other vmk# to the same vmhba.
esxcli swiscsi nic add –n vmk1 –d vmhba33
esxcli swiscsi nic add –n vmk2 –d vmhba33
To verify that all of the vmk# are bound properly to the vmhba run the following command:
Page 24
