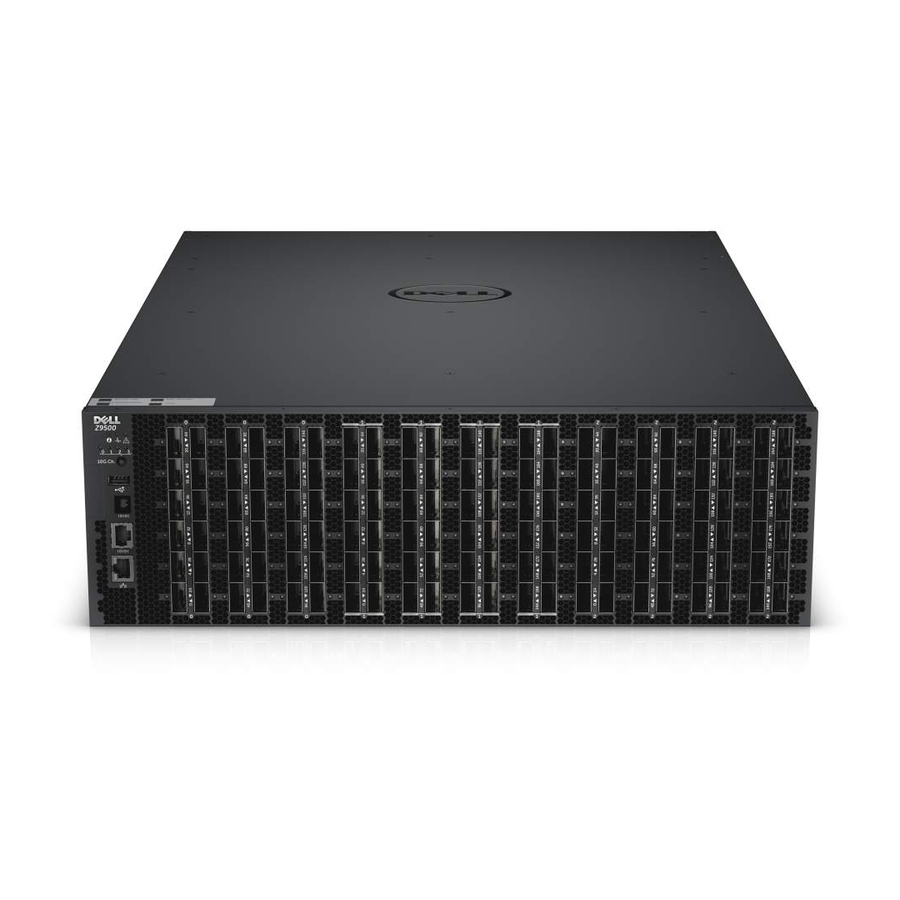
Dell Networking Z9500 시작하기 매뉴얼 - 페이지 7
{카테고리_이름} Dell Networking Z9500에 대한 시작하기 매뉴얼을 온라인으로 검색하거나 PDF를 다운로드하세요. Dell Networking Z9500 34 페이지. Z9500 switch
Dell Networking Z9500에 대해서도 마찬가지입니다: 설치 매뉴얼 (47 페이지)

Attaching the Mounting Brackets
The switch is shipped with static rails mounting brackets (rack ears) and the required screws for rack or
cabinet installation. The brackets are enclosed in a package with the chassis.
Attaching the Static-Rails Mounting Brackets
1.
Take the static-rail mounting brackets and screws out of their packaging.
2.
Attach the brackets to the I/O side of the chassis, using eight screws for each bracket.
Attach the bracket so that the "ear" faces to the I/O side and the outside of the chassis.
1.
Utility side of the chassis
3.
Static-rail mounting bracket
Installing the Dell Static Rails System
Dell Networking provides the Static Rails rack mounting system so you can easily configure a rack to
install the switch.
Identifying the Rail Kit Contents
Locate the components for installing the rail kit assembly:
•
Two Dell Static Rails assemblies (1) (2).
NOTE: Supports rack length between 24 and 36 inches.
Getting Started Guide
2.
Screws
7
