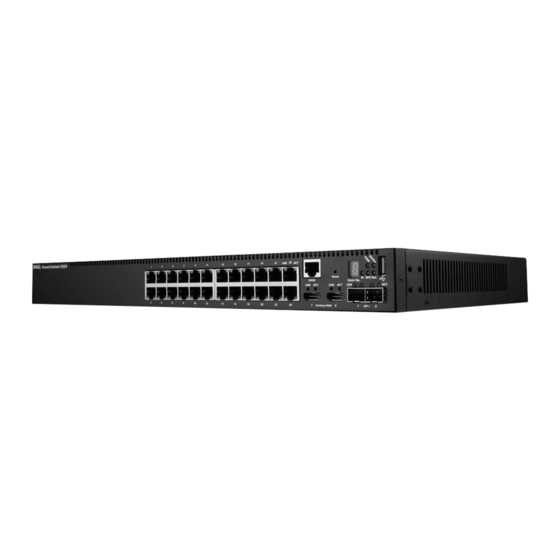
Dell POWERCONNECT 5548P 시작하기 매뉴얼 - 페이지 14
{카테고리_이름} Dell POWERCONNECT 5548P에 대한 시작하기 매뉴얼을 온라인으로 검색하거나 PDF를 다운로드하세요. Dell POWERCONNECT 5548P 20 페이지. Powerconnect 5500 series
Dell POWERCONNECT 5548P에 대해서도 마찬가지입니다: 릴리스 정보 (15 페이지)

Connecting the Switch to the Terminal
The switch is configured and monitored through a terminal desktop system
that runs terminal emulation software. The switch connects to the terminal
through the console port.
To connect the switch to a terminal:
1 Connect an RS-232 cable to a VT100-compatible terminal or the serial
connector of a desktop system running terminal emulation software.
2 Connect the RS-232 cable to the switch console port on the front panel of
the switch (see Figure 3-1) using an 8-pin RJ-45 male connector.
Figure 3-1. Front-Panel Console Port
3 Set the terminal emulation software as follows:
Select the appropriate serial port to connect to the switch.
a
Set the data rate to 9600 baud.
b
Set the data format to 8 data bits, 1 stop bit, and no parity.
c
Set Flow Control to none.
d
Select VT100 for Emulation mode within your communication
e
software.
Select Terminal keys for Function, Arrow, and Ctrl keys. Ensure that
f
the setting is for Terminal keys (not Windows keys).
NOTE:
You can connect a console to the console port on any unit in the stack, but
stack management is performed only from the stack master (Unit ID 1 or 2).
14
Configuring the Switch
Console Port
